 VanGami.com
Spiral Rose
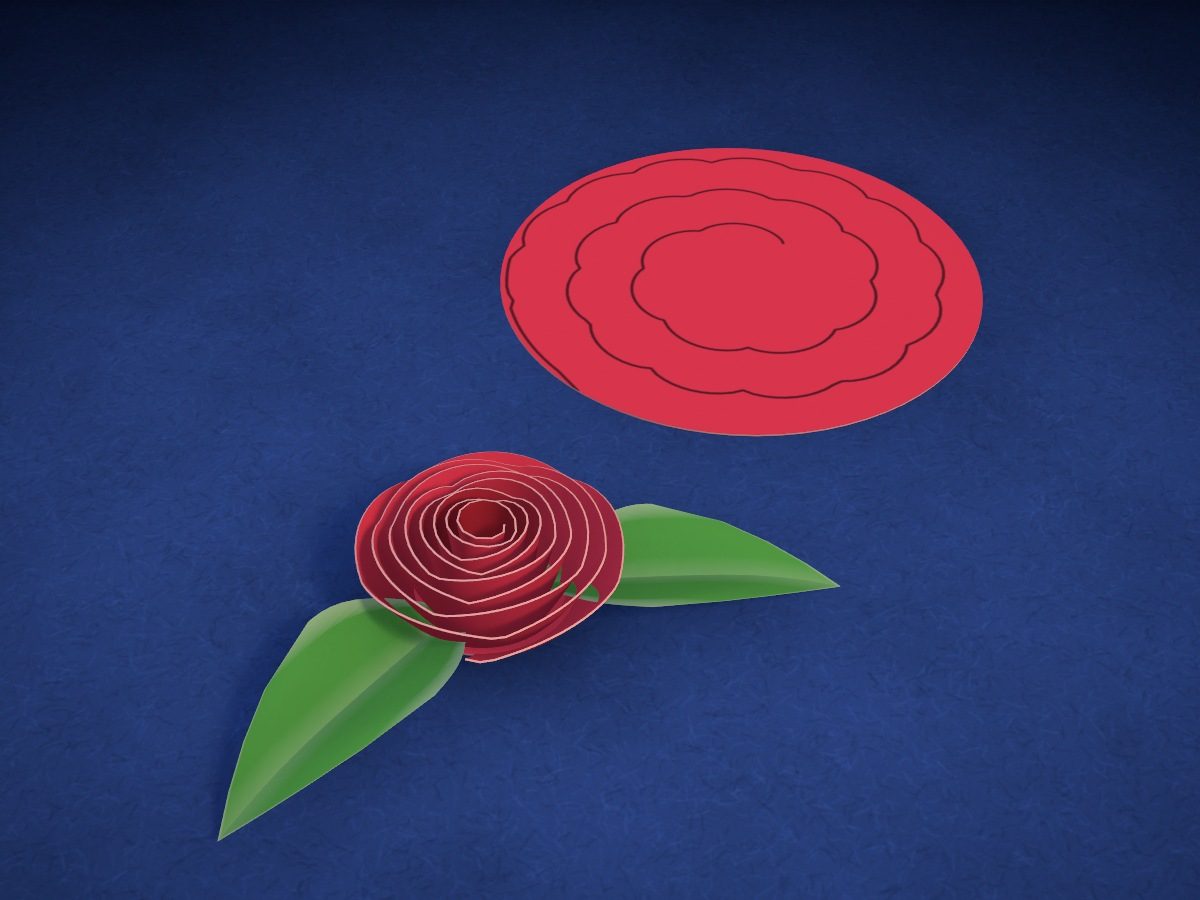
Cut a circle with a wavy spiral from the edge to the center, roll up the strip — and you get a rose about 1⅝ in across. Underneath are two leaves with a vein. You can make a few and arrange them into a bouquet or glue them onto a card.
- Easy
- 1 3½ in circle
- 2 leaves
- 4 cm — rose
Make it with your phone cameraLesson code: 8368
On VanGami the template appears over your sheet through your phone camera — no printer needed. Trace it, cut, fold and glue. Below are all the steps in text.
What you’ll need
- 2 Letter sheets — office paper, 80 gsm (20 lb)
- Markers
- Pencil — and eraser
- Scissors — small
- Glue stick — or PVA glue
- Glass — phone stand
Steps
Sheet 1
- Sheet 1: red sheet. The red sheet should be under the camera now. The template has 2 sheets. The sheet is white — the pieces get their color at the coloring step.
- Circle. Trace a circle 3½ in across: the whole rose will come from it.
- Spiral. Draw a wavy spiral from the edge to the middle, two and a half turns. This is the cutting line. A whole little circle is left in the middle: the base of the rose.
- Red. The paper is white, but these parts should be this color on both sides: color them up to the outline, then turn the sheet over and color the back.
Sheet 2
- Sheet 2: green sheet. Remove the previous sheet and put the green sheet in its place, lined up edge to edge. Don’t move the phone — the scale stays the same. The sheet is white — the parts get their color at the coloring step.
- Leaves. Trace both little leaves: they’re the same.
- Vein. Down the middle of each leaf, draw a dash-dot line from the base to the tip: you’ll fold the leaf slightly along it.
- Green. The paper is white, but these parts should be this color: color them in completely, up to the outline. Move the marker in one direction.
Cut
- Cut out: circle. Cut out the circle along the outer line. Leave the spiral inside alone for now.
- Cut out: leaf — 2 pcs. Cut out the leaves along the solid line.
- Cut along the spiral. Cut along the spiral from the edge to the center, turning the circle, not the scissors. Follow the waves roughly — they’re the edges of the petals. Stop where the line ends: the small circle in the middle stays whole.
Roll
- Roll the strip. Start at the outer end of the strip and roll it up tightly toward the center of the circle. Keep the bottom edge even — the wavy edge goes on top. Roll all the way to the small base circle.
- Let go. Set the roll on the base and let go a little: the coils will loosen. Let the bottom of the rose open up to the edge of the base — no wider. Spread out the top coils with your fingers.
- Glue to the base. The small circle in the middle of the spiral is the base. Spread a thick layer of glue on it, set the rose down on it and press from above for a minute: the bottoms of the coils will sink into the glue.
Leaves
- Vein. Fold each leaf along the dashed line, line on the inside, then open it up a little — you’ll get a vein, and the leaf will become 3D.
- Leaves under the rose. Put glue on the bases of the leaves and slip them under the rose’s base, tips pointing in different directions.
Done. Your rose is done. The scraps of the sheet are enough for one or two more: gather them into a bouquet or glue them onto a card.
Make it with your phone camera
 MarigoldsMedium
 Paper RosesMedium
 Origami LiliesHard
 SunflowersMedium
 Mini FlowersMedium
 Daisy Corner BookmarkEasy