 VanGami.com
Mini Notebook
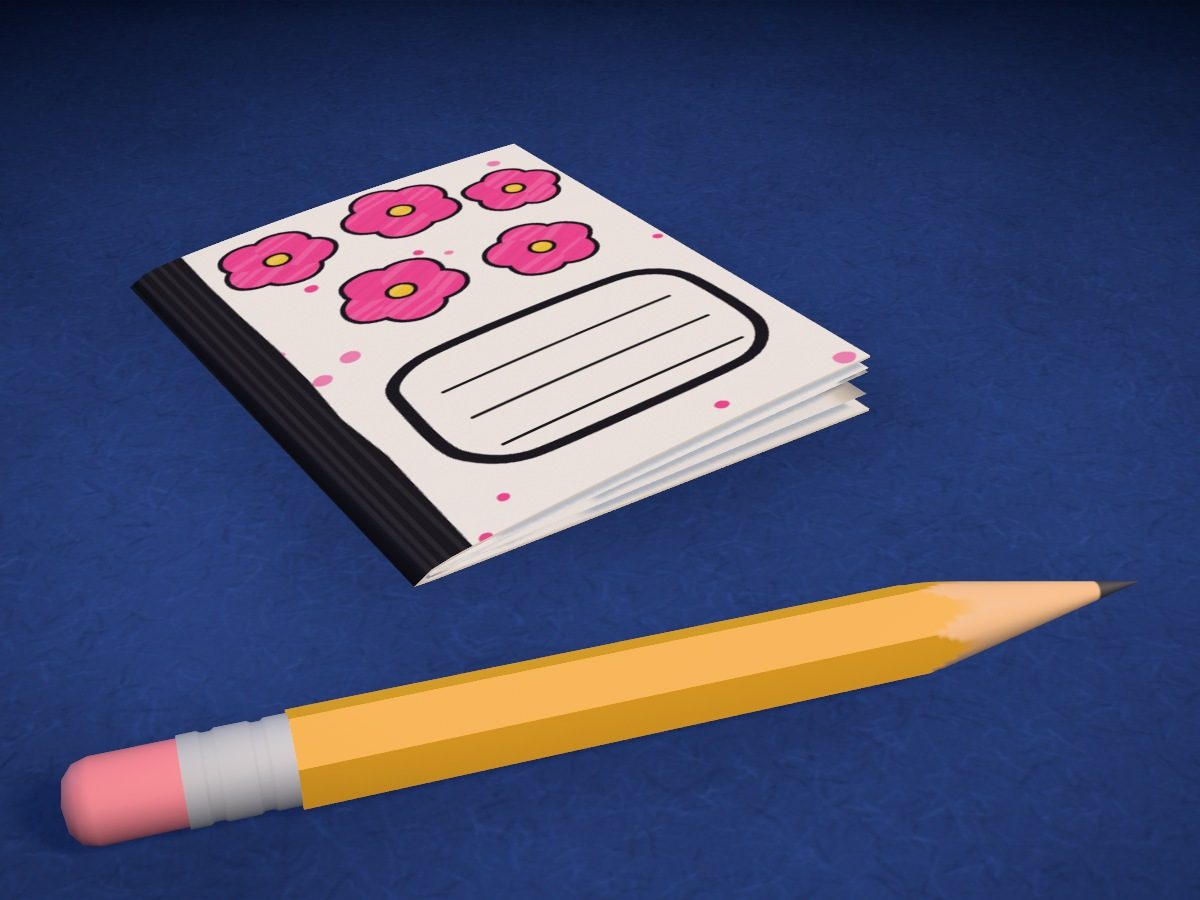
A 2⅛ × 2¾ in mini notebook from half a Letter sheet: the sheet is folded into eight panels, cut once and put together without glue. The cover is drawn with markers on the finished notebook: flowers, a black spine and a name label.
- Easy
- 1 half a Letter sheet
- 6 pages
- 1 cut
- 0 glue
Make it with your phone cameraLesson code: 6268
On VanGami the template appears over your sheet through your phone camera — no printer needed. Trace it, cut, fold and glue. Below are all the steps in text.
What you’ll need
- Letter sheet — office paper, 80 gsm (20 lb)
- Markers
- Pencil — and eraser
- Scissors — small
- Glass — phone stand
Steps
Sheet
- Fold the sheet in half. Fold the Letter sheet in half, short edge to short edge. Crease the fold with your fingernail and unfold.
- Cut along the fold. Cut the sheet along the fold. One half is for the notebook; set the other aside: it will make another one.
Fold
- Fold in half lengthwise. Fold the half lengthwise: long edge to long edge. Crease the fold and unfold.
- Fold in half crosswise. Now crosswise: short edge to short edge. Crease it, but don’t unfold it.
- And crosswise once more. Fold it once more in the same direction: bring the fold to the open edges. Crease it, bend that fold the other way, then open it back up — the sheet stays folded in half.
- Cut to the middle. Cut from the folded edge along the fold that runs into it, up to the fold you just made: exactly to the middle, no farther. Cut both layers at once.
- Unfold the sheet. Unfold the whole sheet. It has eight panels, with a slit two panels long in the middle.
- Fold lengthwise. Fold the sheet lengthwise again along the first fold and stand it on its edge, fold up. The slit is now on the fold.
- Push the ends together. Hold the strip by the ends and push them toward each other: the slit opens into a diamond. Push all the way and you get a little cross of four leaves.
- Fold it into a book. Fold the leaves of the cross in one direction, like the pages of a book. Lay the notebook down and crease the spine with your fingernail.
Cover
- Notebook under the camera. Put the notebook under the camera with the spine on the left — that’s the edge where all the leaves are joined. Unlock the template, use two fingers to fit the frame to the notebook edge to edge, then lock it again.
- Pencil drawing. Trace the stripe along the spine, the name label with three lines and the five flowers above it. Between the flowers go dots; they don’t need to be exact.
Color
- With markers. Petals and dots in pink, centers in yellow. Color the spine black and outline the flowers and the name label with it too.
Back
- Back cover. Turn the notebook over and draw the same flowers and dots on the back — freehand, as many as fit. Along the spine, a black stripe.
- Write your name. Turn it back over and write your name on the lines of the name label. Inside are six pages: write the first entry on them.
Done. The notebook is done. The other half of the sheet makes another one — with a different pattern or in a different color.
Make it with your phone camera
 Corner Bookmarks: AnimalsEasy
 Sugar Skull BookmarkEasy
 Candy Cane BookmarkEasy
 Clip Bookmarks: Heart and StrawberryEasy
 Corner Bookmark: Little MonstersEasy
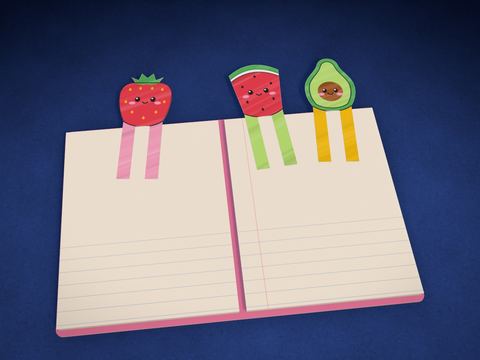 Fruit BookmarksEasy