 VanGami.com
Flower Pot Card
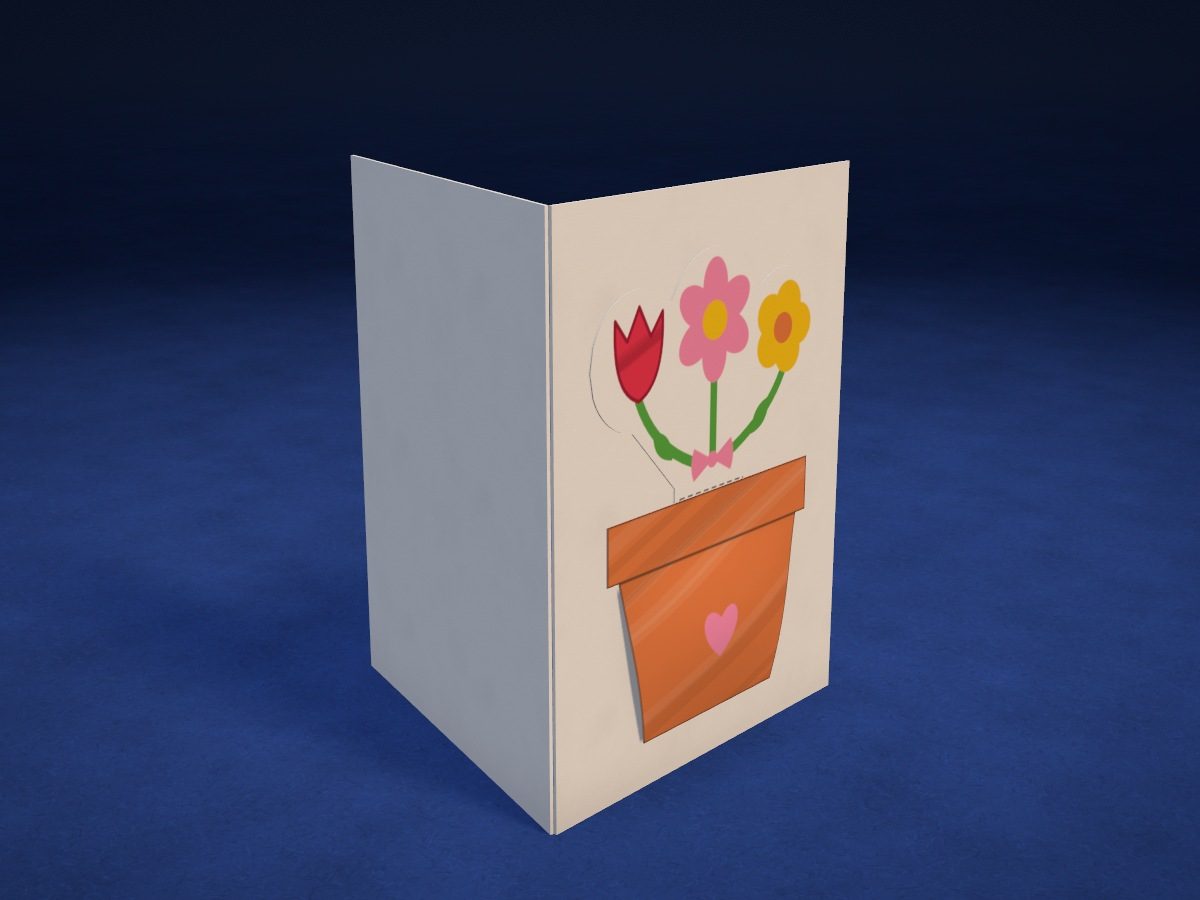
A card made from a sheet folded in quarters: on the front is a pocket flower pot with three flowers peeking out. Pull the little bouquet up — the flowers grow, and a message appears under the bow.
- Easy
- 2 Letter sheets
- 2 pieces
- 2 cm — the flowers slide up
Make it with your phone cameraLesson code: 2685
On VanGami the template appears over your sheet through your phone camera — no printer needed. Trace it, cut, fold and glue. Below are all the steps in text.
What you’ll need
- 2 Letter sheets — office paper, 80 gsm (20 lb)
- Markers
- Pencil — and eraser
- Scissors — small
- Glue stick — or PVA glue
- Glass — phone stand
Steps
Sheet 1
- Sheet 1: white sheet. The white sheet should be under the camera now. The template has 1 sheets.
- Pot. Trace the pot: a wide rim on top and, below it, a body that gets narrower toward the bottom.
- Pot: drawing. Draw the line under the rim and a little heart in the middle.
- Bouquet. Trace the three round flower heads, the stem, and the wide bottom in one line, like a sticker with a white border. The wide bottom keeps the bouquet from falling out.
- Bouquet: drawing. Copy a tulip, two flowers, stems with little leaves, and a bow. Under the bow is a frame: the spot for a message.
- Pot: coloring. Pot — orange; little heart — pink. Leave the line under the rim in pencil.
- Bouquet: coloring. Tulip — red; flowers — pink and yellow; centers — yellow and orange; stems and little leaves — green; bow — pink. Don’t color the frame.
Sheet 2
- Sheet 2: sheet for the base. Take the sheet for the base. You don’t need the camera here — follow the diagram on the screen.
- Base: diagram. The second sheet is the card base. You’ll fold it into quarters at the “Base” step: first along line 1, then along line 2. You don’t need to draw the lines.
Cut
- Cut out: pot. Cut out the pot along the solid line.
- Cut out: bouquet. Cut out the bouquet along the solid line, going smoothly around the flower heads.
Base
- Fold the sheet in half. Take the second sheet and fold it in half: top edge to bottom edge, edge to edge. Crease the fold with your fingernail.
- In half again. Fold it in half again: left edge to right edge. Now you have a 4⅛ × 5⅞ in card with the fold on the left, like a book.
Glue
- Glue along the edge of the pot. Turn the pot face down. Put glue in a strip along the edge: down both sides and along the bottom. Don’t put glue on the top edge — that’s the opening of the pocket.
- Pot onto the card. Glue the pot to the front of the card, centered at the bottom: ⅜ in from the bottom edge. Press the edges down with your fingers, but don’t press the middle.
- Put in the flowers. Slide the bouquet into the pocket stem first, all the way in: the wide bottom will sit in the narrow part of the pot, and the flower heads and bow will stay above the rim.
- Narrow the opening. Lift the top corners of the rim, dab glue under each one — ¾ in in from the edge — and press down. The opening gets narrower: the stem slides freely, but the wide bottom won’t pop out.
Check
- The word. Pull the bouquet up by the flower heads as far as it goes — a frame will appear. Write a name or “for you” in it and slide the flowers back down.
- The flowers grow. Stand the card up slightly open. Pull the flowers up — they grow out of the pot, and the message shows. Write a wish inside the card.
Done. Your card is done. Pull the flowers up by their heads to reveal the message; inside the card there’s room for a whole wish.
Make it with your phone camera
 MarigoldsMedium
 Paper RosesMedium
 Origami LiliesHard
 SunflowersMedium
 Mini FlowersMedium
 Daisy Corner BookmarkEasy