 VanGami.com
Desk Name Sign
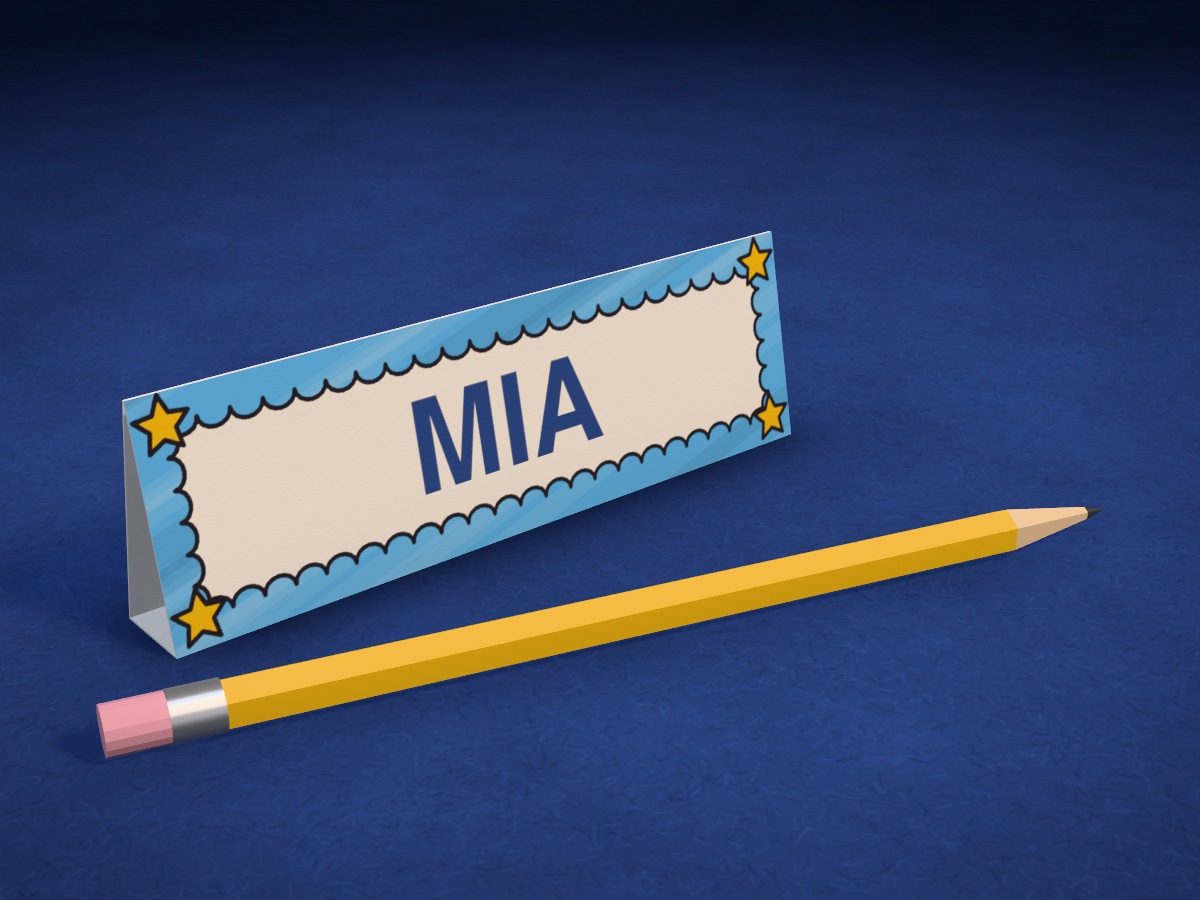
A tent-style name sign for your desk: a light blue scalloped frame with little stars, and the name inside in marker. One strip with three folds and a tab, 1⅜ in tall — it stands on its own.
- Easy
- 1 piece
- 3 folds
- 12 cm — sign
Make it with your phone cameraLesson code: 1422
On VanGami the template appears over your sheet through your phone camera — no printer needed. Trace it, cut, fold and glue. Below are all the steps in text.
What you’ll need
- Letter sheet — office paper, 80 gsm (20 lb)
- Markers
- Pencil — and eraser
- Scissors — small
- Glue stick — or PVA glue
- Glass — phone stand
Steps
Trace
- Outline. Trace the strip with a solid line: a rectangle with a narrow tab at the bottom that has cut corners. You’ll cut along this line.
- Fold lines. The three dashed lines across the strip are the folds — you don’t cut along them. Write their numbers next to them.
- Draw. Copy two frames with scalloped edges using thin lines: the bottom one has little stars in the corners, and the top one is upside down, without stars.
Color
- Color the design. Color the space between the edge and the scallops: the bottom frame light blue, the top frame pink. Color the stars yellow with a black outline. The middle of the frames, the base and the tab stay white.
Cut
- Cut out: sign. Cut out the strip along the solid line: the long sides in one go, and trim the corners off the tab.
Write
- Write your name. Inside the light blue frame, write your name big, in block letters, with a darker marker. Start from the middle — that way the name will be centered.
Fold
- Fold it into a tent. Fold the strip along all three dashed lines away from you, with the drawing on the outside, and crease each fold. The bottom is the narrow band between folds 2 and 3; the tab stands up.
Glue
- Glue the tab. Put glue on the outside of the tab and lower the bottom of the back (pink) panel onto it: the edge of the panel goes exactly along fold 3. Press for ten seconds.
Check
- Put it on your desk. Stand the sign on your desk with the name facing the board: the teacher sees the light blue side, and you see the pink one.
Done. The sign is done. Stand it on your desk with the name facing the board — the pink side faces you.
Make it with your phone camera
 Mini NotebookEasy
 Corner Bookmarks: AnimalsEasy
 Sugar Skull BookmarkEasy
 Candy Cane BookmarkEasy
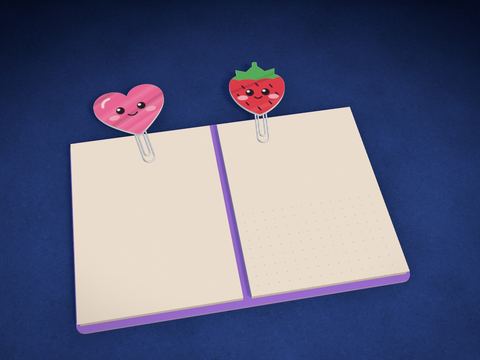 Clip Bookmarks: Heart and StrawberryEasy
 Corner Bookmark: Little MonstersEasy