 VanGami.com
Paper Ring with a Gem
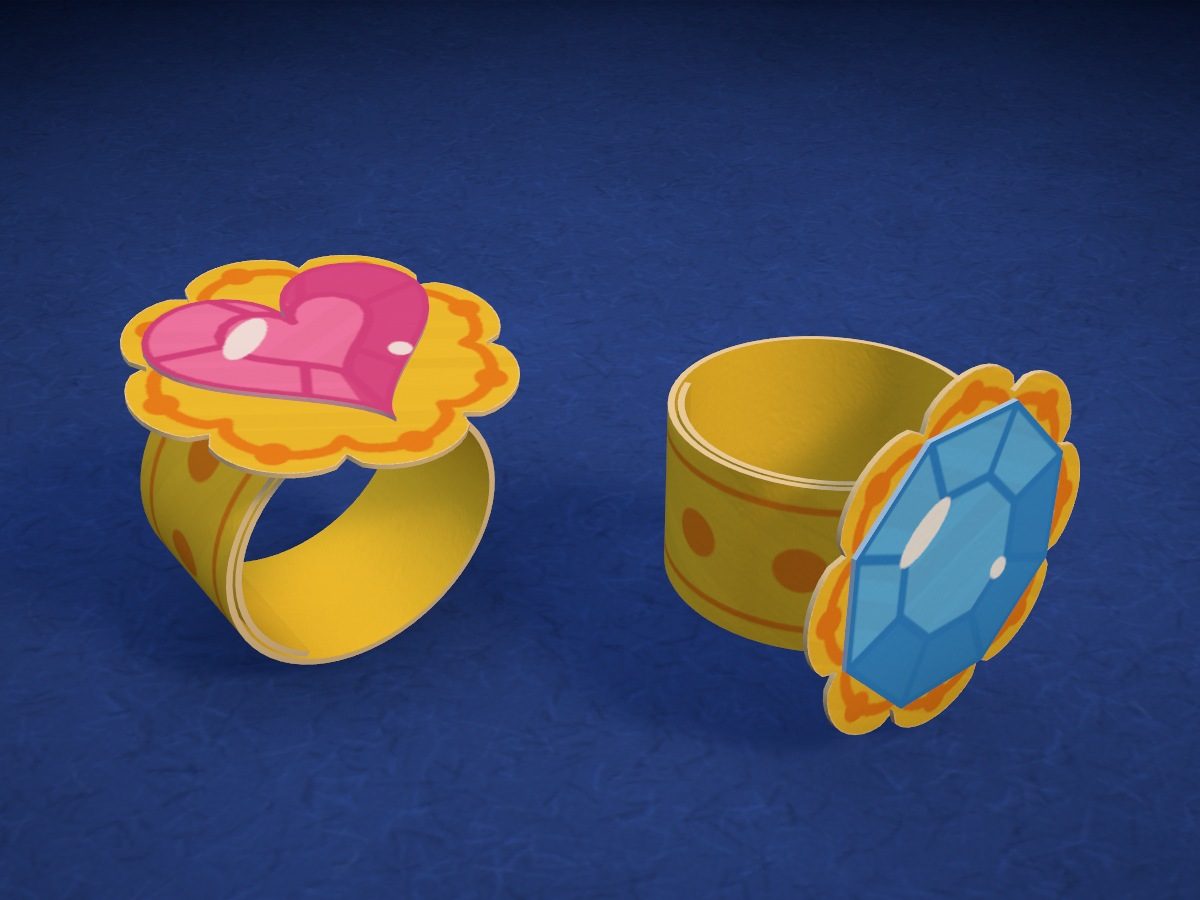
Two little rings from one sheet: a gold band sized to your finger, a fancy setting, and a jewel — a pink heart or a light blue octagon with a sparkle. The band is folded in half lengthwise, and the seam hides under the setting.
- Easy
- 2 rings
- 6 pieces
- 26 mm — setting
Make it with your phone cameraLesson code: 4771
On VanGami the template appears over your sheet through your phone camera — no printer needed. Trace it, cut, fold and glue. Below are all the steps in text.
What you’ll need
- Letter sheet — office paper, 80 gsm (20 lb)
- Markers
- Pencil — and eraser
- Scissors — small
- Glue stick — or PVA glue
- Glass — phone stand
Steps
Trace
- Rings: outlines. Trace all six pieces with a solid line: two bands, two flower settings and two gems. You’ll cut along these lines.
- Rings: fold. In the middle of each band is a dashed line: the band is folded lengthwise along it. Don’t cut it.
- Rings: drawing. Sketch lightly the facets of the gems, the petals of the settings and the dots on the bands. The glints on the gems are blank spaces: they are not colored in.
Color
- Color the rings. Bands and settings in yellow, dots and petal outlines in orange. Heart in pink, octagon in light blue; go over the facets on the right and bottom with the same marker once more — they’ll turn darker. Leave the glints white.
Cut
- Cut out: rings — 6 pcs. Cut out all six pieces along the solid line. Cut the long edges of the bands with the middle of the blades, and the petals of the setting with the tips of the scissors, turning the sheet.
Glue
- Bands in half. Turn a band picture side down and spread glue over the whole back. Fold it lengthwise along the dashed line, edge to edge, and crease it with your fingernail. Do the same with the second band.
- Jewel onto the setting. Spread glue on the back of a jewel and glue it in the middle of a setting: the heart on one, the octagon on the other. Press for 10 seconds.
Assemble
- To fit your finger. Wrap the band around the finger you’ll wear the ring on — not too tight, so you can take it off. Where the end overlaps the band, make a pencil mark, then take it off.
- Glue the ring. Spread glue on the inside of the band’s end and press it to the mark. Hold for half a minute. If the overlap is longer than 1 in, cut off the extra: the setting needs to cover it.
- Setting over the seam. Spread glue on the back of the setting and press it over the seam, jewel facing out: it will cover the overlap. Hold until the glue sets.
- Second ring. Make the second ring the same way: band sized to the finger, glue on the overlap, and the setting with the octagon on top. You can size it to a friend’s finger.
Done. The rings are done. One for you, one for a friend: size the second band to her finger.
Make it with your phone camera
 Cat MaskMedium
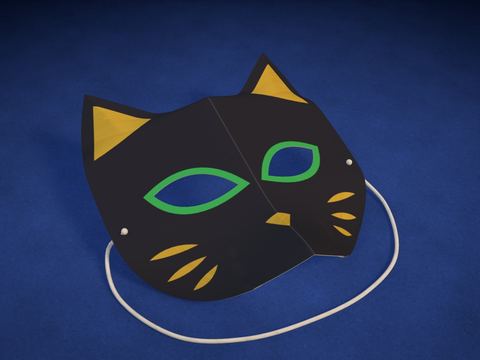 Black Cat MaskMedium
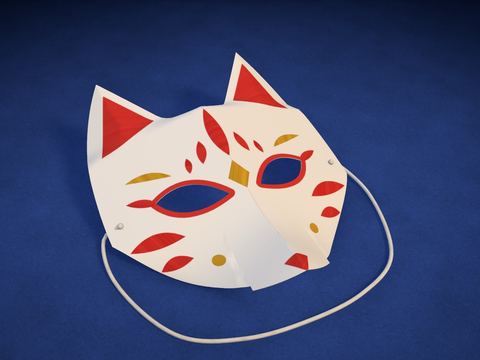 White Fox MaskMedium
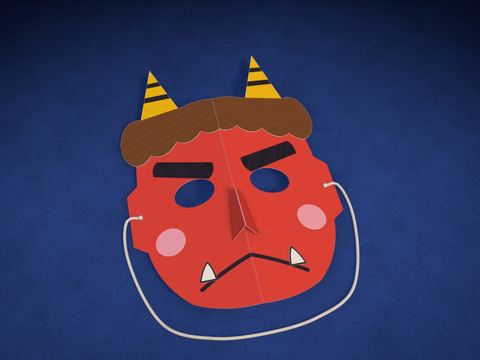 Oni Demon MaskMedium
 Origami ClawsEasy
 Fox Ears HeadbandEasy