 VanGami.com
Cat Mask
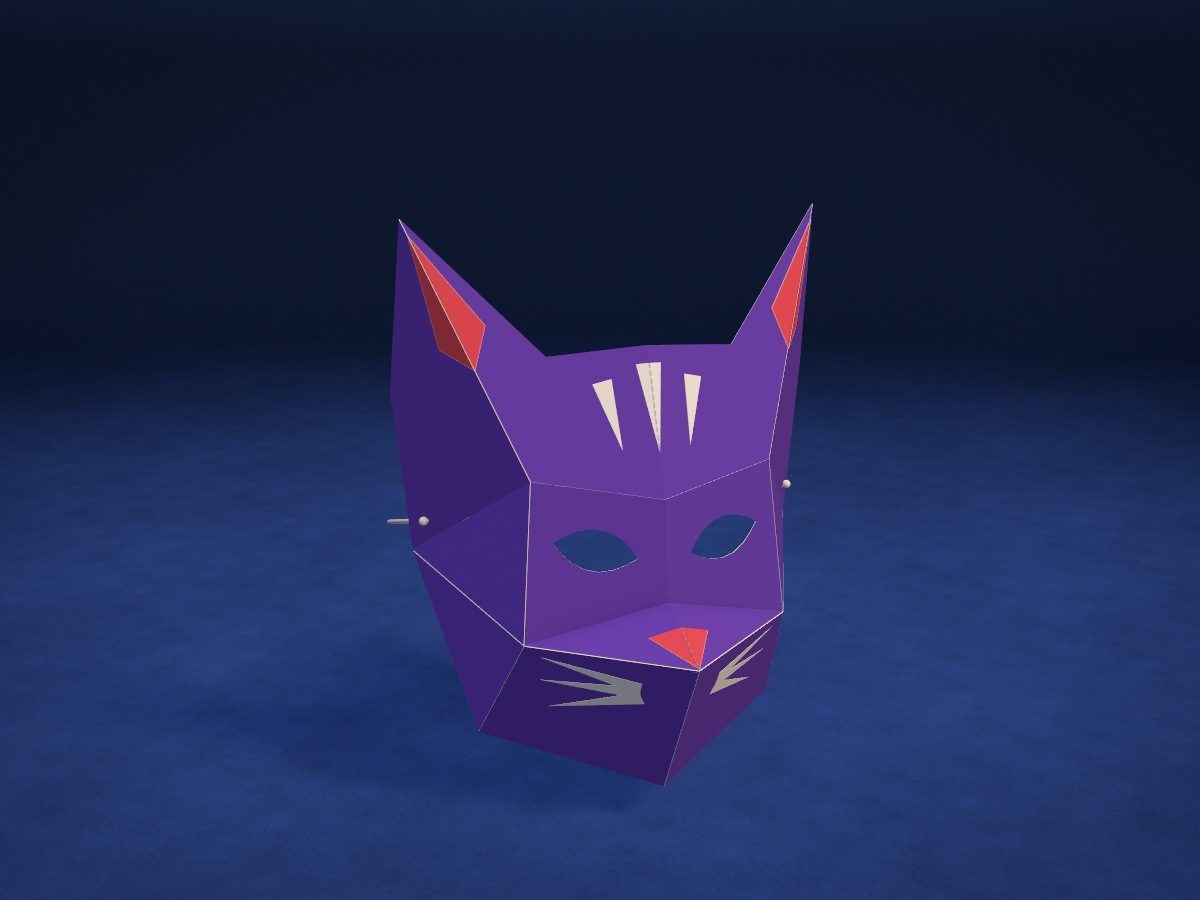
A faceted full-face mask, adult size. It has two halves, each a single piece with its ear: it isn’t glued together but folded along eight lines. A seam of four tabs joins the halves; the nose, ear inserts, whiskers, and stripes are overlays of white paper, with an elastic band at the back.
- Medium
- 14 faces
- 5 Letter sheets
- 12 overlays
- 21 × 26 см adult size
Make it with your phone cameraLesson code: 2859
On VanGami the template appears over your sheet through your phone camera — no printer needed. Trace it, cut, fold and glue. Below are all the steps in text.
What you’ll need
- 5 Letter sheets — office paper, 80 gsm (20 lb)
- Markers
- Pencil — and eraser
- Scissors — small
- Ruler — 8–12 in
- Empty pen — to score the folds
- Glue stick
- Tape — clear, wide
- Paper strips
- Regular markers
- Glass — phone stand
Steps
Sheet 1
- Sturdy sheet from two. Apply glue stick over the whole surface of a sheet of printer paper, press a second sheet onto it, and smooth with your palm from the middle to the edges. You'll get a thick sheet — work on that one. Put it back in the same spot, edge to edge; don't move the phone.
- Sheet 1: purple sheet. The purple sheet should be under the camera now. The template has 3 sheets. The sheet is white — the pieces get their color in the coloring step.
- Right half: outline. Draw on the back of the sheet: the lines will end up inside the mask. Trace the edge of the half with a solid line — the ear at the top and four trapezoid tabs along the seam edge — plus the almond-shaped eye and the small circle by the temple.
- Right half: folds. Eight lines inside and four at the tabs: a dash-dot line means a fold toward you. Only two get a plain dashed line: from the bridge of the nose to the cheekbone and from the brow to the temple. Label the tabs with the numbers 1–4.
- Purple. The parts are drawn on the back, but the color belongs on the front: turn the sheet over and color the whole area under the parts in this color, then turn the sheet back.
Sheet 2
- Sturdy sheet from two. Apply glue stick over the whole surface of a sheet of printer paper, press a second sheet onto it, and smooth with your palm from the middle to the edges. You'll get a thick sheet — work on that one. Put it back in the same spot, edge to edge; don't move the phone.
- Sheet 2: second purple sheet. Remove the previous sheet and put the second purple sheet in its place, lined up edge to edge. Don’t move the phone — the scale stays the same. The sheet is white — the parts get their color at the coloring step.
- Left half: outline. On the back again: the same half mirrored, without tabs — the seam edge stays a line of four straight segments. The eye and the circle by the temple are also solid lines.
- Left half: folds. The same eight lines. Again only two get a plain dashed line: from the bridge of the nose to the cheekbone and from the brow to the temple; the rest are dash-dot.
- Purple. The parts are drawn on the back, but the color belongs on the front: turn the sheet over and color the whole area under the parts in this color, then turn the sheet back.
Sheet 3
- Sheet 3: white sheet. Remove the previous sheet and put the white sheet in its place, lined up edge to edge. Don’t move the phone — the scale stays the same.
- Nose and ears: outlines. Trace the nose triangle and two identical long diamonds — the ear inserts.
- Nose and ears: folds. Each piece has one fold line along its axis, folding away from you.
- Stripes and whiskers: outlines. Three wedges for the forehead stripes: one wider and two narrower. And six identical whiskers — long, sharp triangles.
- Stripes and whiskers: fold. The wide stripe has a fold line along its axis, folding away from you.
- Red. Color the areas that match this color. Move the marker in one direction — you’ll get fewer streaks.
Cut
- Cut out: right half. Cut out the half in one piece — with the ear and the four tabs. Cut the eye slit with a craft knife on a piece of cardboard. Don’t cut out the circle at the temple: it marks where the elastic goes.
- Cut out: left half. Cut out the half in one piece — with the ear, without tabs. Cut the eye slit with a craft knife on a piece of cardboard. Don’t cut out the circle at the temple: it marks where the elastic goes.
- Cut out: nose and ears — 3 pcs. Cut out the nose triangle and the two ear inserts — after coloring them.
- Cut out: stripes and whiskers — 9 pcs. Cut out three stripes and six whiskers. The whiskers are narrow: cut from the wide end to the tip.
- Match the halves. Stack the halves pencil side in and line up the edges: ear to ear, seam to seam. The seam corners should match, and only the tabs stick out past the edge — trim anything extra.
- Holes for the elastic. Put tape on both sides of the temple circles — in ⅝ in pieces, not crossing the fold lines. Poke each one through the center with an awl, on a piece of cardboard.
Fold
- Score the folds. Lay both halves pencil side up. Score every fold line with an empty pen along a ruler — cardstock will fold evenly and won’t crack.
- Fold the right half. Fold the dash-dot lines toward you, pencil side in, and the tabs too. Fold the two plain dashed lines — by the nose and from the brow to the temple — away from you.
- Fold the left half. Fold the left half as a mirror image: the same lines toward you, the same two away from you.
Glue
- Test-fit the seam. Flip the halves face up and bring them together without glue: the tabs go under the edge of the left half. The seam corners should meet — every one, from forehead to chin.
- Glue the seam. Glue one tab at a time, from forehead to chin. Spread a drop of PVA glue on tab 1 on the front side, press the edge of the left half onto it and hold for a minute; do the same with tabs 2, 3 and 4.
Assemble
- Nose. Tilt the mask up, face toward you. Fold the red triangle in half, color side out, and glue it with its point on the tip of the muzzle — straddling the seam.
- Ears. Fold the red inserts along their center line and glue them onto the ridge of each ear, pointed end toward the tip. A purple border stays around the edges.
- Forehead stripes. Fold the wide stripe and glue it onto the forehead seam, wide end up. Put the two narrow ones on either side of it, fanned out.
- Whiskers. Three whiskers on each cheek under the nose, fanned out: wide end toward the nose, tip pointing outward. The wide ends overlap.
- Tie on the elastic. Turn the mask so the inside faces you. Thread the ends of the elastic through the holes from the inside out and tie each one in a double knot on the outside.
Check
- Try it on. Put on the mask: your eyes look through the slits, and the bridge of the mask rests on your nose. If it slides down or flares out at the sides, tighten the elastic and retie the knot.
Done. The mask is done. Let the glue dry, then try it on.
Make it with your phone camera
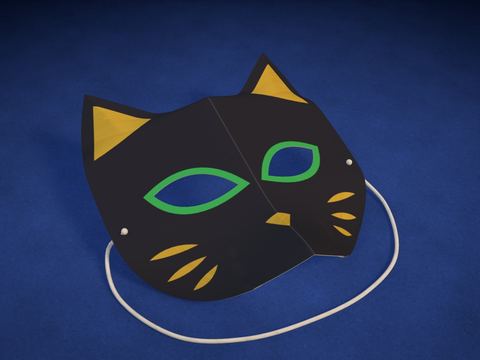 Black Cat MaskMedium
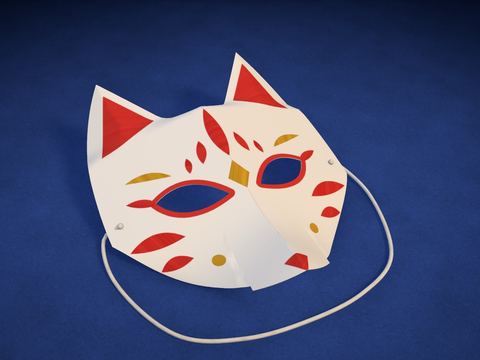 White Fox MaskMedium
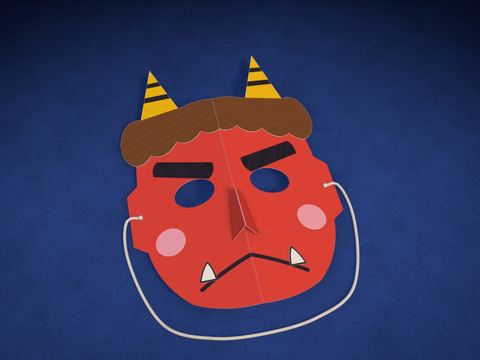 Oni Demon MaskMedium
 Origami ClawsEasy
 Fox Ears HeadbandEasy
 Oni Horns HeadbandEasy