 VanGami.com
Oni Demon Mask
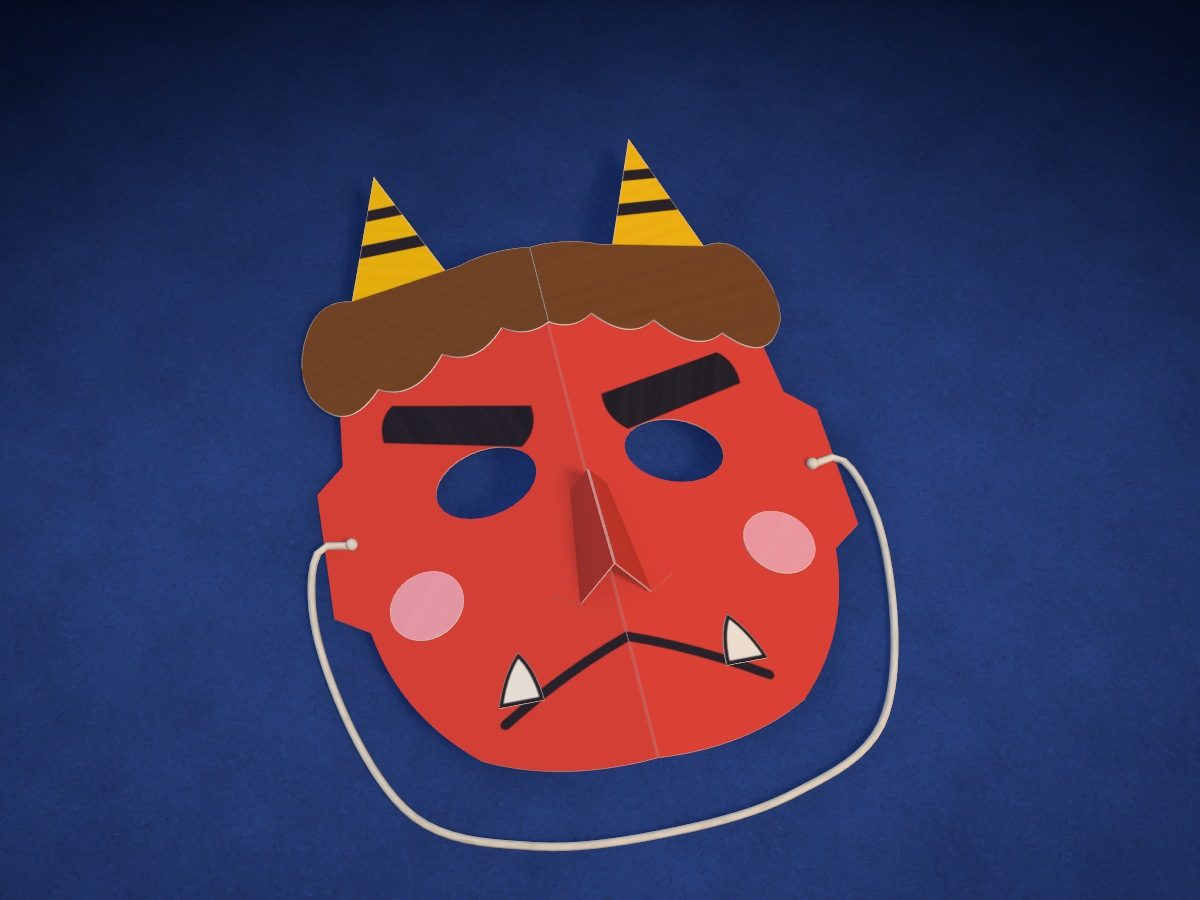
A full-face red demon mask: bangs with yellow striped horns, angry eyebrows, a tent-shaped nose, round cheeks and two fangs. Everything that comes in pairs is cut from a sheet folded in half: trace once and you get two.
- Medium
- 4 Letter sheets
- 7 pieces
- 4 tracing passes
Make it with your phone cameraLesson code: 8891
On VanGami the template appears over your sheet through your phone camera — no printer needed. Trace it, cut, fold and glue. Below are all the steps in text.
What you’ll need
- 4 Letter sheets — office paper, 80 gsm (20 lb)
- Markers
- Pencil — and eraser
- Scissors — small
- Glue stick — or PVA glue
- Paper strips
- Tape — reinforce the holes for the elastic
- Glass — phone stand
Steps
Fold
- Two-ply sheets. Make two thick sheets, each from two sheets of printer paper: cover a sheet with glue stick over the whole area, press a second sheet on top, and smooth it with your palm from the middle to the edges. One thick sheet is for the mask, the other for the bangs, cheeks, and fangs.
- Fold both sheets in half. Fold the red and white sheets in half lengthwise: long edge to long edge. Crease the folds with your fingernail.
Trace
- Red sheet: top of the mask. Place the red sheet with the fold on the left — on the blue dashed line in the middle, sheet corner in the template’s corner mark: the sheet will fill the right half of the frame. Trace the line from the fold, the eye and the dot for the elastic, and make a short mark on the fold.
- Red sheet: bottom of the mask. Slide the sheet along the fold until the mark and the edge of the fold line up with the template. Extend the cheek and chin line to the fold.
- Red sheet: nose. Slide the sheet once more: the nose is drawn right at the fold, ⅜ in below the mask’s chin. Trace the outline from fold to fold, and the tab line as a dashed line.
- White sheet: bangs, cheek and fang. Place the white sheet with the fold on the left — on the blue dashed line in the middle, sheet corner in the template’s corner mark: the sheet will fill the right half of the frame. Trace the bangs with the horn from fold to fold, the cheek circle and the fang.
Cut
- Cut out the mask and nose. Don’t unfold the red sheet: cut both layers at once along the line from fold to fold. Cut out the nose the same way — it’s below the mask, right at the fold.
- Eye slits. Put the mask on an eraser and poke a pencil through the middle of the eye — both layers. Put the scissors into the hole and cut out the eye along the line.
- Holes for the elastic. Cover the dot near the edge with tape on both sides of the folded mask — this keeps the edge from tearing. Put the mask on an eraser and poke a pencil through the dot, both layers at once.
- Bangs, cheeks and fangs. Cut the white sheet folded, too. The bangs with horns come out as one piece, and you get two cheeks and two fangs.
Color
- Unfold the mask and bangs. Open the mask and bangs like a book: the pencil lines stay underneath. On both, bend the middle fold the other way, so the ridge points toward you. Don’t open the nose yet.
- Red. The sheet is white but the mask is red: color the whole face of the mask with a red marker, right to the edge. Open up the nose, color it the same way, and fold it back with the red on the inside.
- Eyebrows and mouth. With the black marker, draw thick eyebrows — slanting toward the bridge of the nose — and a curved mouth with the corners turned down.
- Bangs, horns and cheeks. Color the hair brown, the horns yellow with two black stripes, and the cheek circles pink. Outline the fangs in black along the edge.
Assemble
- Fold the nose. The nose is still folded in half: fold the tab along the dashed line back and forth — both layers at once. Open up the nose: fold the middle so the ridge points toward you, and bend the tabs out to the sides.
- Glue on the nose. Apply glue to the underside of the tabs and glue the nose on right under the eyes, with its ridge over the mask’s fold. At the tip of the nose, the tab folds are ¾ in apart: this makes the ridge rise ⅝ in.
- Bangs. Apply glue to the top of the mask and glue on the bangs: fold to fold, with the wavy edge covering 1⅛–1⅝ in of the forehead.
- Cheeks and fangs. Glue the cheeks under the eyes, closer to the edges. Fangs go at the ends of the mouth, tips up.
- Mask elastic. Thread the elastic through the holes and tie knots on the outside. Adjust the length to your head: the mask should fit snugly and not slip off.
Done. The mask is done. Let the glue dry and try it on: it should fit snugly and not slip. If it slips, tighten the elastic or re-glue the strip joint tighter.
Make it with your phone camera
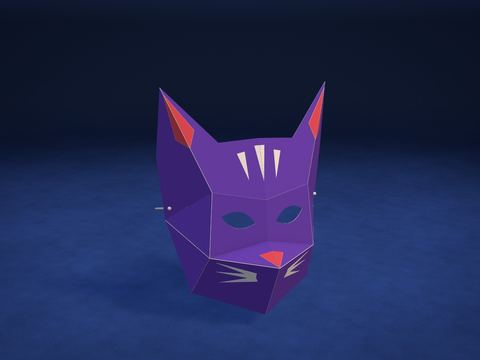 Cat MaskMedium
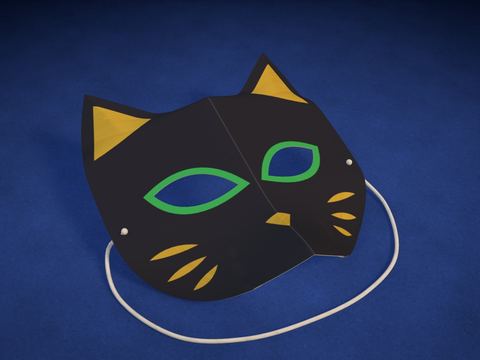 Black Cat MaskMedium
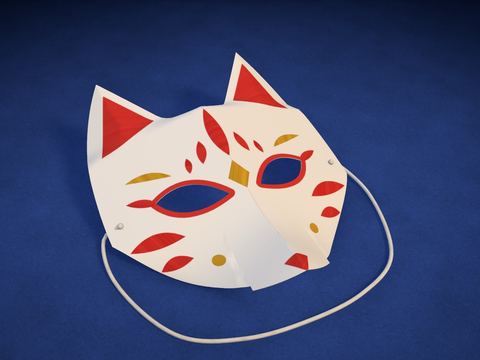 White Fox MaskMedium
 Origami ClawsEasy
 Fox Ears HeadbandEasy
 Oni Horns HeadbandEasy