 VanGami.com
Origami Claws
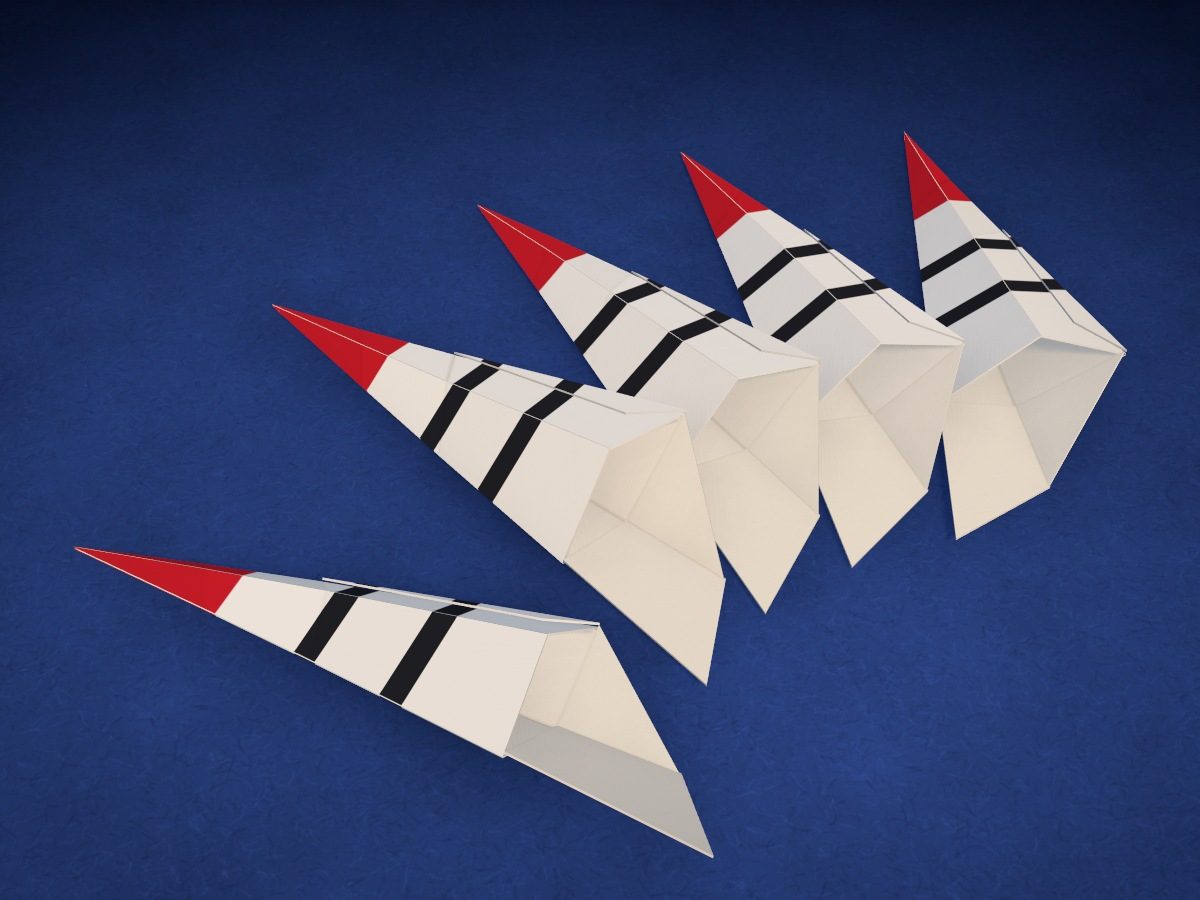
Sharp claws for your fingers, made from regular Letter sheets. On a flat sheet you draw a red tip and two black stripes, then fold it with nine folds — no glue or scissors: a little tongue is tucked between the layers and holds the claw. One sheet makes one claw.
- Easy
- 5 claws per hand
- 1 Letter sheet per claw
- 9 folds
- 0 glue or scissors
Make it with your phone cameraLesson code: 6748
On VanGami the template appears over your sheet through your phone camera — no printer needed. Trace it, cut, fold and glue. Below are all the steps in text.
What you’ll need
- Letter sheet — office paper, 80 gsm (20 lb)
- Markers
- Pencil — and eraser
- Ruler — 8–12 in
- 4 more Letter sheets — one sheet per claw
- Tape — a piece — if the lock doesn’t hold
- Glass — phone stand
Steps
Mark
- Tip and two stripes. Fold the sheet in half crosswise, but pinch the fold only at the right edge, ⅜–¾ in long: this is the center mark. Line the mark up under the start of the diagonal line and trace the diagonal line and the three arcs.
Color
- Red. Color the areas that match this color. Move the marker in one direction — you’ll get fewer streaks.
- Black. Now the areas that match this color.
More sheets
- Four more sheets. While the phone is on the glass, trace and color four more sheets the same way — one sheet per claw. The “Back” button will take you back to the tracing.
Fold
- Drawing side down. Take one sheet and turn it over, drawing side down, like turning a page. The drawing is now underneath, at the left edge, in the half of the sheet nearest you.
- Corner to edge. Pull the top right corner down to the left edge: the top edge of the sheet lines up exactly along the left one. Crease the fold with your fingernail.
- Sharp corner down. Bring the sharp top corner down into the bottom left corner of the sheet. The left edges now match, and the fold lies straight across.
- Right edge inward. Fold the right part over to the left: the fold runs straight down from the right end of the top edge. Its diagonal edge butts up against the diagonal edge of the triangle — that makes a square.
- Square in half. Fold the square in half diagonally, along the seam: bottom right corner to top left corner. The folded-over parts are hidden inside, leaving a triangle.
- Center line. Without flipping it over, turn the triangle so the right angle points away from you. Fold it in half, sharp corner to sharp corner, crease it and unfold.
- First wrap. Fold the right side over to the center line: the edge lines up exactly along it. The bottom corner will stick out past the edge of the blank — that’s the tail, and it’s meant to be there.
- Second wrap. Fold everything you’ve folded so far over to the left — along the center line. That makes a thick stack: crease the fold firmly.
- Third wrap. Fold the stack over to the left once more, along its left edge: it lies on the left edge of the blank. The drawing is now on top.
- Tongue. Unfold the third wrap. Fold the sharp corner on the left up onto the blank: the left edge lies on top of itself, and the fold starts at the bottom end of the last crease.
- Lock. Stand the stack on its edge. Slide the tongue into the gap between its bottom layer and the tail that sticks out of it, then lower the stack. The tongue won’t show from the outside.
Put on
- On your finger. The pocket for your finger is at the wide end, right under the top layer with the drawing. Open it with your finger and slip the claw on — it will open into a cone. The tail stays outside and lies along your finger.
- Four more claws. Fold the other four sheets the same way — the steps are the same, from “Drawing side down” to “Lock.” A clean sheet works too: the claw will come out white.
Done. The claws are ready. Their tips are hard — don’t point them at a face, yours or anyone else’s.
Make it with your phone camera
 Cat MaskMedium
 Black Cat MaskMedium
 White Fox MaskMedium
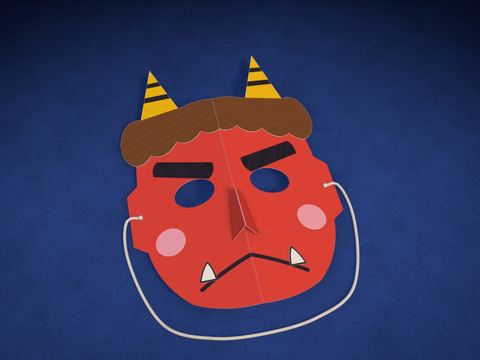 Oni Demon MaskMedium
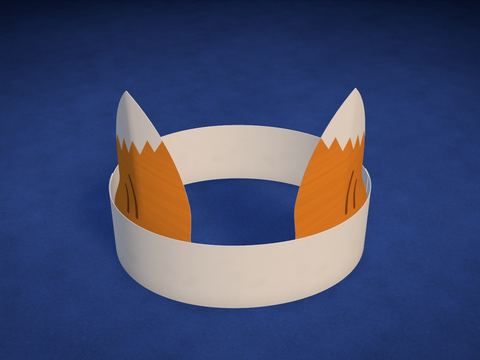 Fox Ears HeadbandEasy
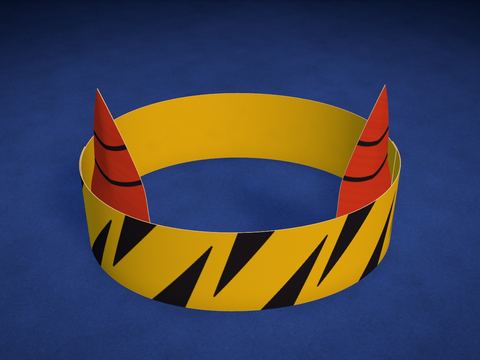 Oni Horns HeadbandEasy