 VanGami.com
Charm Bracelet

A chain of nine paper rings in three colors and three two-sided charms — a heart, a star, and a flower. The links loop through each other, and the last one closes the chain into a bracelet that slips on over your hand. Each charm wraps around a ring with its little bridge and slides along it.
- Easy
- 9 links
- 3 hanging decorations
- 6 cm — inside
Make it with your phone cameraLesson code: 9677
On VanGami the template appears over your sheet through your phone camera — no printer needed. Trace it, cut, fold and glue. Below are all the steps in text.
What you’ll need
- Letter sheet — office paper, 80 gsm (20 lb)
- Markers
- Pencil — and eraser
- Scissors — small
- Glue stick — or PVA glue
- Glass — phone stand
Steps
Trace
- Links: frame. Trace a 4¾ × 3½ in rectangle with a ruler. It will make nine links of the bracelet.
- Links: lines. Inside, draw eight lines, ⅜ in apart — also with a ruler. The rectangle is cut into strips along them.
- Charms: outlines. Trace three charms — two figures joined by a bridge each — and the strip next to them: that’s the spare link.
- Charms: folds. In the middle of each bridge is a dashed line: the charm is folded in half along it. Don’t cut it.
- Charms: drawing. Copy the figures lightly: the top ones are upside down — that’s how it should be. After folding, both will end up the right way up.
Color
- Pink. Color the areas that match this color. Move the marker in one direction — you’ll get fewer streaks.
- Yellow. Now the areas that match this color.
- Light blue. Now the areas that match this color.
- Color the charms. Hearts in red, stars in yellow, flowers in light blue with a yellow center; bridges in the color of their figure. Leave the glint on the heart white; outlines in black.
Cut
- Cut out: links. Cut out the rectangle along the frame. Don’t cut the lines inside yet.
- Cut out: charms — 4 pcs. Cut out the charms along the solid line. Don’t snip into the bridge: it’s narrow, so move the scissors slowly.
- Cut the links. Cut the rectangle along the eight lines: you’ll get nine 4¾ × ⅜ in strips — three of each color.
Chain
- First link. Roll a strip into a ring, color side out. Spread glue on ⅜ in of the end and press it to the other end. Hold for 10 seconds.
- Second — through the first. Thread the second strip through the first ring, and only then glue its ends. The rings are linked and move freely.
- Six more links. Thread each next strip only through the last ring and glue it. Colors go in order: pink, yellow, light blue. Set the ninth strip aside for now.
Charms
- Charms onto the rings. Fold a charm along the dashed line around the side of a ring: the bridge wraps around the ring, with a shape on each side. Spread glue on one shape and press the other to it, back to back. Charms go on the second, fifth, and seventh rings.
- Close the bracelet. Close it on the table, not on your wrist. Thread the ninth strip through the last and the first ring of the chain and glue it — now you have a bracelet. Squeeze your hand narrow and slip the bracelet on over your hand.
Done. The bracelet is done. Squeeze your hand narrow, thumb toward your pinky, and slip the bracelet on over it; it comes off the same way.
Make it with your phone camera
 Cat MaskMedium
 Black Cat MaskMedium
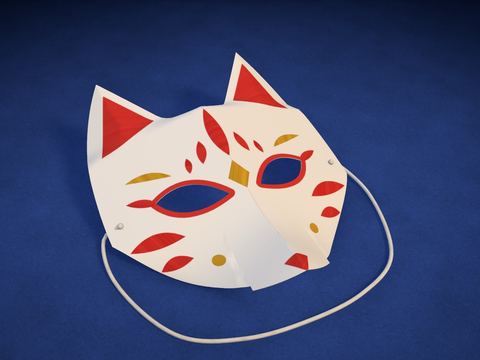 White Fox MaskMedium
 Oni Demon MaskMedium
 Origami ClawsEasy
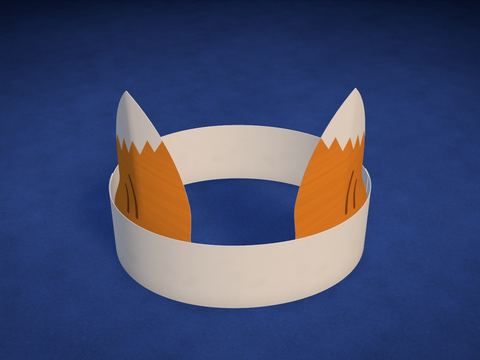 Fox Ears HeadbandEasy