 VanGami.com
Star Piñata

A mini piñata, 7½ in across: a five-sided drum of heavy paper, with a cone ray on each side wrapped in three rows of fringe. A three-layer flower on the front and back, tassels at the tips of the rays, and a twine loop at the top edge.
- Hard
- 5 cone rays
- 15 rows of fringe
- 2 flowers, 3 layers each
- 7 Letter sheets
Make it with your phone cameraLesson code: 8028
On VanGami the template appears over your sheet through your phone camera — no printer needed. Trace it, cut, fold and glue. Below are all the steps in text.
What you’ll need
- 7 Letter sheets — office paper, 80 gsm (20 lb)
- Markers
- Pencil — and eraser
- Ruler — 8–12 in
- Scissors — small
- Empty pen — to score the folds
- Glue stick
- Thread or string
- Glass — phone stand
Steps
Sheet 1
- Sheet 1: pink sheet. The pink sheet should be under the camera now. The template has 6 sheets. The sheet is white — the pieces get their color in the coloring step.
- Pink pieces: outlines. Trace four pieces: the cone sector, a long fringe strip, a short tassel strip, and the flower. Use a ruler for the straight lines.
- Pink pieces: layout marks. Thin lines inside: on the sector — four arcs and the tab line, on the long strip — a lengthwise line, on the short one — a crosswise line. You don’t cut along them — they’re just layout marks.
- Pink. The paper is white, but these parts should be this color: color them in completely, up to the outline. Move the marker in one direction.
Sheet 2
- Sheet 2: yellow sheet. Remove the previous sheet and put the yellow sheet in its place, lined up edge to edge. Don’t move the phone — the scale stays the same. The sheet is white — the parts get their color at the coloring step.
- Yellow pieces: outlines. The same four pieces as on the pink sheet: the sector, the long strip, the short strip and the flower — smaller here.
- Yellow pieces: layout marks. The same thin lines: four arcs and a line on the sector, and one line on each strip.
- Yellow. The paper is white, but these parts should be this color: color them in completely, up to the outline. Move the marker in one direction.
Sheet 3
- Sheet 3: green sheet. Remove the previous sheet and put the green sheet in its place, lined up edge to edge. Don’t move the phone — the scale stays the same. The sheet is white — the parts get their color at the coloring step.
- Green pieces: outlines. The same four pieces as on the pink sheet: the sector, the long strip, the short strip and the flower — smaller here.
- Green pieces: layout marks. The same thin lines: four arcs and a line on the sector, and one line on each strip.
- Green. The paper is white, but these parts should be this color: color them in completely, up to the outline. Move the marker in one direction.
Sheet 4
- Sheet 4: light blue sheet. Remove the previous sheet and put the light blue sheet in its place, lined up edge to edge. Don’t move the phone — the scale stays the same. The sheet is white — the parts get their color at the coloring step.
- Light blue pieces: outlines. The same four pieces as on the pink sheet: the sector, the long strip, the short strip and the flower.
- Light blue pieces: layout marks. The same thin lines: four arcs and a line on the sector, and one line on each strip.
- Light blue. The paper is white, but these parts should be this color: color them in completely, up to the outline. Move the marker in one direction.
Sheet 5
- Sheet 5: orange sheet. Remove the previous sheet and put the orange sheet in its place, lined up edge to edge. Don’t move the phone — the scale stays the same. The sheet is white — the parts get their color at the coloring step.
- Orange pieces: outlines. The same four pieces as on the pink sheet: the sector, the long strip, the short strip and the flower — smaller here.
- Orange pieces: layout marks. The same thin lines: four arcs and a line on the sector, and one line on each strip.
- Orange. The paper is white, but these parts should be this color: color them in completely, up to the outline. Move the marker in one direction.
Sheet 6
- Sturdy sheet from two. Apply glue stick over the whole surface of a sheet of printer paper, press a second sheet onto it, and smooth with your palm from the middle to the edges. You'll get a thick sheet — work on that one. Put it back in the same spot, edge to edge; don't move the phone.
- Sheet 6: purple sheet. Remove the previous sheet and put the purple sheet in its place, lined up edge to edge. Don’t move the phone — the scale stays the same. The sheet is white — the parts get their color at the coloring step.
- Purple pieces: outlines. Trace the four pieces: the long wall, two pentagon lids with tabs, and a small flower. Use a ruler for the straight lines.
- Purple pieces: fold lines. Dash-dot lines — five lines across the wall and five lines by the tabs of each lid: these are valley folds. Don't cut along them.
- Purple. The parts are drawn on the back, but the color belongs on the front: turn the sheet over and color the whole area under the parts in this color, then turn the sheet back.
Cut
- Cut out: pink pieces — 4 pcs. Cut out the four pieces along the solid lines. Don’t cut along the thin lines inside — they’re just layout marks.
- Cut out: yellow pieces — 4 pcs. Cut out the four pieces along the solid lines. Don’t cut along the thin lines inside — they’re just layout marks.
- Cut out: green pieces — 4 pcs. Cut out the four pieces along the solid lines. Don’t cut along the thin lines inside — they’re just layout marks.
- Cut out: light blue pieces — 4 pcs. Cut out the four pieces along the solid lines. Don’t cut along the thin lines inside — they’re just layout marks.
- Cut out: orange pieces — 4 pcs. Cut out the four pieces along the solid lines. Don’t cut along the thin lines inside — they’re just layout marks.
- Cut out: purple pieces — 4 pcs. Cut out the wall, the two lids, and the flower along the solid lines. Don't cut the dash-dot lines — they're folds.
- Cut the fringe. Snip the long strip crosswise every 3/16 in — from the edge to the thin line. Do all five strips the same way.
- Cone teeth. Snip the wide edge of each sector up to the first arc — about every ⅜ in. You get teeth — the ray attaches to the base with them.
- Cut the tassels. Cut the short strips lengthwise into 6–7 thin strands, stopping before the crosswise line. The uncut edge stays whole.
Base
- Fold the wall. Score the five dash-dot lines with an empty pen along a ruler and fold them all toward you, with the lines on the inside. You'll get a ring of five sides with a narrow tab.
- Loop and ring. Fold the twine in half and tie the ends together in a knot. Apply PVA glue to the outside of the tab, lay the twine across the middle of the tab with the knot inside the ring, and tuck the tab under the last side.
- Two lids. On the lid, score the fold lines and fold the five tabs toward you. Apply PVA glue to them and put the lid onto the ring — the tabs go on the outside of the walls; glue the second lid on the same way, after flipping the base over.
Rays
- Roll the cone. Apply PVA glue to the tab beyond the line, flip the sector over and roll it into a cone with the lines facing out: the straight edge lands on the line. Hold it for a minute: the tip should be sharp and the base round.
- First row of fringe. Apply glue stick to the solid edge of the strip on the side without a line and wrap the strip around the cone with the colored side out: the edge goes along the second arc from the wide edge (the teeth were cut up to the first one), with the fringe facing the teeth. Cut off the excess.
- Two more rows. Glue two more rows the same way — along the third and fourth arcs: the fringe of each row covers the uncut edge of the previous one. One strip is enough for all three rows.
- Four more rays. Roll the other four cones and add fringe to them the same way — each with fringe in its own color.
Flowers
- Curl the petals. Lay the flowers colored side up. Curl the petals up on a pencil on the large and medium flowers: slightly on the large ones, more on the medium ones. On the small ones, just bend the petals up.
- Assemble the flowers. Stack three flowers — large, medium, small — with a drop of PVA glue in the middle, petals staggered. Glue the second set of three the same way.
Assemble
- First ray. Bend the cone’s teeth outward, apply PVA glue to them and press the ray to the middle of a side opposite the edge with the loop. Hold it for a minute, keeping the fringe lifted.
- The other rays. Glue a ray onto each of the four remaining sides the same way. The rays point outward in one plane, like a star.
- Flowers on the lids. Glue a flower with PVA glue to the middle of the lid. Lift the star and glue the second flower on from below the same way — onto the second lid.
- Tassels. Apply glue to the solid edge of the tassel on the side without a line and wrap it around the tip of the ray: it will cover the edge of the top row of fringe. Use a different color for the tassel than for the ray.
Check
- Hang the star. When the glue dries — in about an hour — lift the star by the loop: it hangs with one ray pointing down. Fluff the fringe and tassels with your fingers.
Done. The star is done — hang it by the loop.
Make it with your phone camera
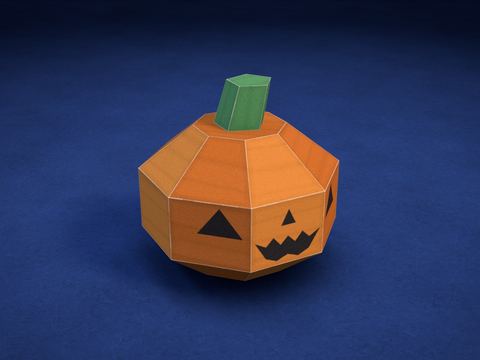 PumpkinMedium
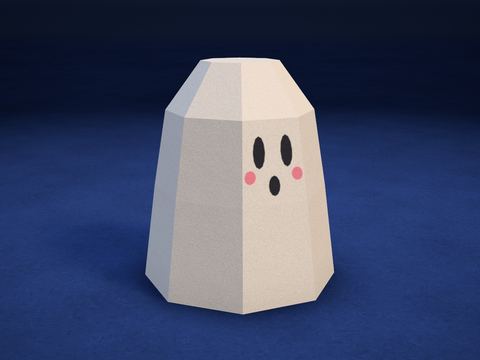 GhostMedium
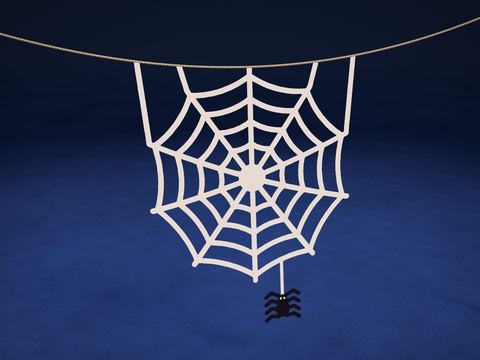 Cobweb with a SpiderEasy
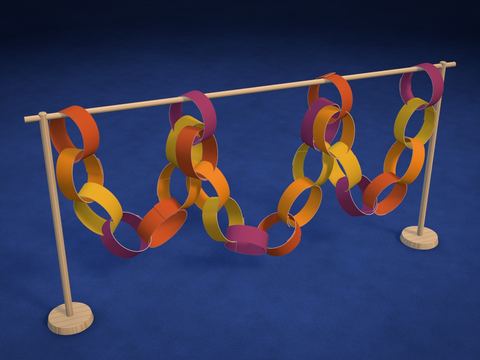 Paper Chain GarlandEasy
 La CatrinaHard
 Halloween SuncatchersMedium