 VanGami.com
Pumpkin Lantern
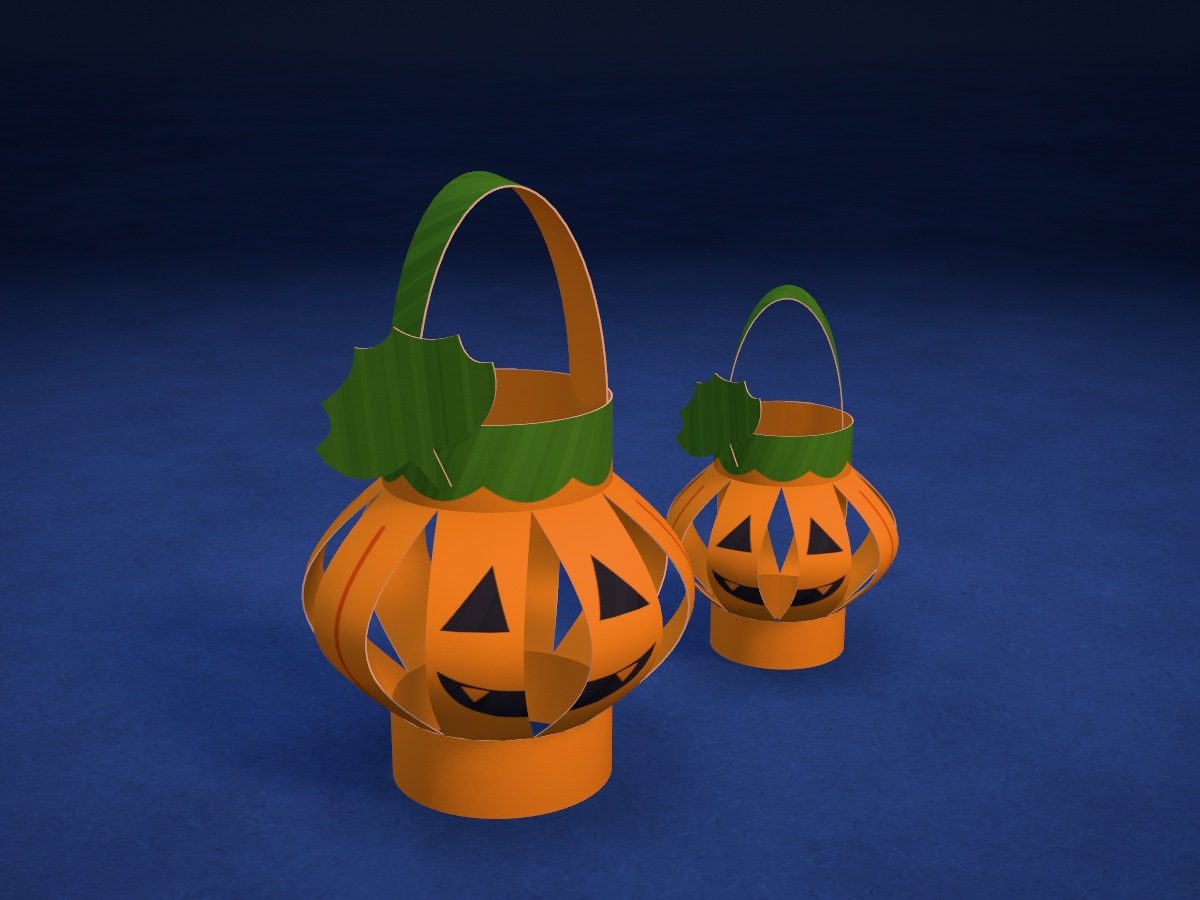
An orange lantern with slits: you roll the sheet into a tube and squish it — the strips bow out like pumpkin segments. Two segments at the front have a little face, on top is a green vine handle, and at the side is a leaf.
- Easy
- 1 Letter sheet
- 3 pieces
- 8 slits
Make it with your phone cameraLesson code: 4546
On VanGami the template appears over your sheet through your phone camera — no printer needed. Trace it, cut, fold and glue. Below are all the steps in text.
What you’ll need
- Letter sheet — office paper, 80 gsm (20 lb)
- Markers
- Pencil — and eraser
- Scissors — small
- Glue stick — or PVA glue
- Glass — phone stand
Steps
Trace
- Lantern: outline. Trace the rectangle with a solid line — you’ll cut along it.
- Lantern: slits. Eight lines across are the slits. They don’t reach the edges: ½ in is left at the top and at the bottom.
- Lantern: fold. The dashed line down the middle, along the long side, is the fold: fold the sheet along it so you can cut the slits.
- Lantern: drawing. Trace the face — eyes and a mouth with teeth — the scallops of the top border and the short rib lines on the strips. The line near the right edge sets off the tab — that’s where the glue goes.
- Handle and leaf: outlines. Trace the handle strip and the leaf below it. The handle is the same width as the top border.
Color
- Orange. The paper is white, but these parts should be this color: color them in completely, up to the outline. Move the marker in one direction.
- Lantern: coloring. Top border down to the scallops — green, eyes and mouth — black, rib lines — red. Don’t color the teeth or the tab.
- Green. Color the areas that match this color. Move the marker in one direction — you’ll get fewer streaks.
Cut
- Cut out: lantern. Cut out the rectangle along the outline. Leave the slits for now: they’re cut on the folded sheet.
- Cut out: handle and leaf — 2 pcs. Cut out the handle along the lines and the leaf along the outline.
- Fold and cut the slits. Turn the lantern drawing side down and fold it in half along the dashed line, long edge to long edge — the drawing is on the outside. Cut through both layers from the fold along each line to its end.
- Back side — orange. Unfold the lantern and, without turning it over, color the back of the strips orange — between the ends of the slits. It shows through the gaps in the pumpkin.
Assemble
- Roll it into a tube. Turn the lantern drawing side up. Put glue on the tab at the right edge, roll the sheet into a tube with the drawing on the outside, and lay the left edge over the tab. Hold for half a minute.
- Squish the pumpkin. Stand the tube on the table and press down on top with your palm: the strips will bow outward like segments, and the pumpkin will get a little over ⅜ in shorter.
- Handle and leaf. Put glue on the ends of the handle for ⅜ in and glue them from the inside to the green border, on the left and on the right — opposite each other. Glue the leaf by its stalk to the outside of the green border, to the left of the face.
Done. The pumpkin is done. Make two or three pumpkins of different heights and set them side by side, or hang them by the handles on a string.
Make it with your phone camera
 PumpkinMedium
 GhostMedium
 Star PiñataHard
 Cobweb with a SpiderEasy
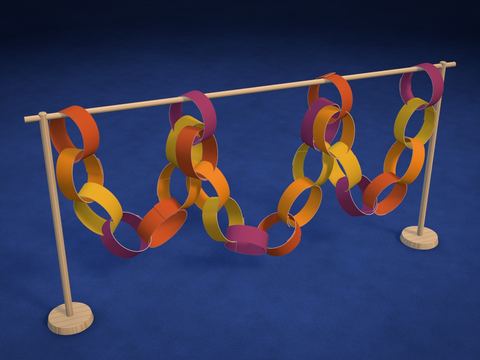 Paper Chain GarlandEasy
 La CatrinaHard