 VanGami.com
Christmas Tree
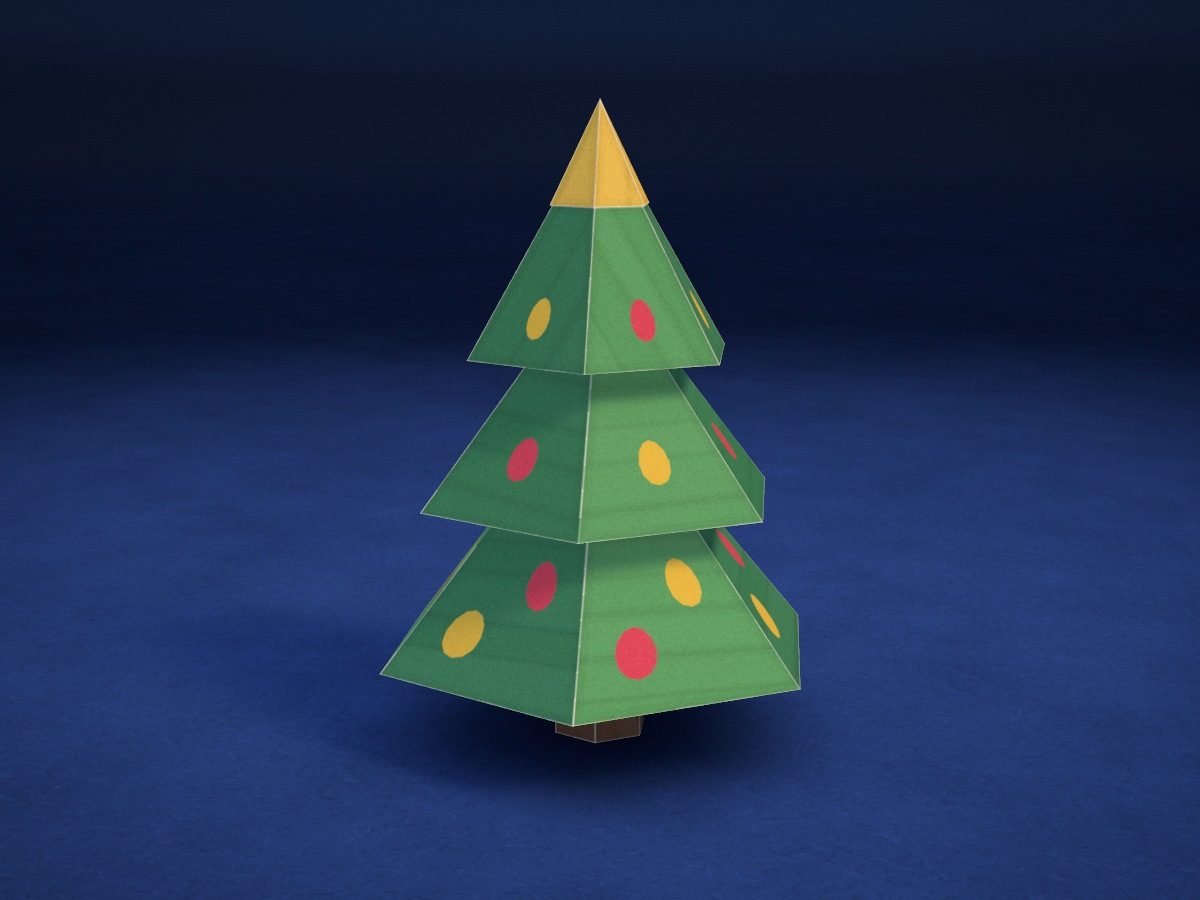
A Christmas tree with three tiers, ornaments and a tree topper. Five pieces that stack on top of each other.
- Medium
- 39 faces
- 50 tabs
- 2 Letter sheets
Make it with your phone cameraLesson code: 3517
On VanGami the template appears over your sheet through your phone camera — no printer needed. Trace it, cut, fold and glue. Below are all the steps in text.
What you’ll need
- 2 Letter sheets — office paper, 80 gsm (20 lb)
- Markers
- Pencil — and eraser
- Ruler — 8–12 in
- Scissors — small
- Glue stick — or PVA glue
- Empty pen — to score the folds
- Glass — phone stand
Steps
Sheet 1
- Trunk: outline. Trace the solid line along the edge of “Trunk” — tabs included. You’ll cut along it.
- Trunk: folds. All the lines inside are dashed: these are folds, so don’t cut them.
- Trunk: numbers. Copy the numbers: the tab and the edge it tucks under have the same number. On the faces, write them faintly, right at the edge — these numbers end up on the outside; erase them with an eraser after gluing. A letter marks the spot where pieces are glued to each other.
- Bottom tier: outline. Trace the solid line along the edge of “Bottom tier” — tabs included. You’ll cut along it.
- Bottom tier: folds. All the lines inside are dashed: these are folds, so don’t cut them.
- Bottom tier: numbers. Copy the numbers: the tab and the edge it tucks under have the same number. On the faces, write them faintly, right at the edge — these numbers end up on the outside; erase them with an eraser after gluing. A letter marks the spot where pieces are glued to each other. Trace the picture here too.
- Top tier: outline. Trace the solid line along the edge of “Top tier” — tabs included. You’ll cut along it.
- Top tier: folds. All the lines inside are dashed: these are folds, so don’t cut them.
- Top tier: numbers. Copy the numbers: the tab and the edge it tucks under have the same number. On the faces, write them faintly, right at the edge — these numbers end up on the outside; erase them with an eraser after gluing. A letter marks the spot where pieces are glued to each other. Trace the picture here too.
- Tree topper: outline. Trace the solid line along the edge of “Tree topper” — tabs included. You’ll cut along it.
- Tree topper: folds. All the lines inside are dashed: these are folds, so don’t cut them.
- Tree topper: numbers. Copy the numbers: the tab and the edge it tucks under have the same number. On the faces, write them faintly, right at the edge — these numbers end up on the outside; erase them with an eraser after gluing. A letter marks the spot where pieces are glued to each other.
- Dark green. Color the faces of this color. Don’t color the tabs — glue sticks better to bare paper.
- Green. Now the faces of this color. Move the marker in one direction — you’ll get fewer streaks.
- Brown. Now the faces of this color. Move the marker in one direction — you’ll get fewer streaks.
- Yellow. Now the faces of this color. Move the marker in one direction — you’ll get fewer streaks.
- Red. Use this color only for the drawing. Don’t color the tabs.
Sheet 2
- Change the sheet. Remove sheet 1 and put a clean sheet in its place, lined up edge to edge. Don’t move the phone — the template stays at the same scale.
- Middle tier: outline. Trace the solid line along the edge of “Middle tier” — tabs included. You’ll cut along it.
- Middle tier: folds. All the lines inside are dashed: these are folds, so don’t cut them.
- Middle tier: numbers. Copy the numbers: the tab and the edge it tucks under have the same number. On the faces, write them faintly, right at the edge — these numbers end up on the outside; erase them with an eraser after gluing. A letter marks the spot where pieces are glued to each other. Trace the picture here too.
- Dark green. Color the faces of this color. Don’t color the tabs — glue sticks better to bare paper.
- Green. Now the faces of this color. Move the marker in one direction — you’ll get fewer streaks.
- Red. Use this color only for the drawing. Don’t color the tabs.
- Yellow. Use this color only for the drawing. Don’t color the tabs.
Cut
- Cut out: trunk. Cut with scissors along the solid line, tabs included. In the narrow spots between the tabs, cut with the tips of the scissors.
- Cut out: bottom tier. Cut with scissors along the solid line, tabs included. In the narrow spots between the tabs, cut with the tips of the scissors.
- Cut out: middle tier. Cut with scissors along the solid line, tabs included. In the narrow spots between the tabs, cut with the tips of the scissors.
- Cut out: top tier. Cut with scissors along the solid line, tabs included. In the narrow spots between the tabs, cut with the tips of the scissors.
- Cut out: tree topper. Cut with scissors along the solid line, tabs included. In the narrow spots between the tabs, cut with the tips of the scissors.
Fold
- Fold: trunk. First score the dashed lines with an empty pen along a ruler. Then fold every line away from you — design facing out — and the tabs too.
- Fold: bottom tier. First score the dashed lines with an empty pen along a ruler. Then fold every line away from you — design facing out — and the tabs too.
- Fold: middle tier. First score the dashed lines with an empty pen along a ruler. Then fold every line away from you — design facing out — and the tabs too.
- Fold: top tier. First score the dashed lines with an empty pen along a ruler. Then fold every line away from you — design facing out — and the tabs too.
- Fold: tree topper. First score the dashed lines with an empty pen along a ruler. Then fold every line away from you — design facing out — and the tabs too.
Glue
- Trunk: tabs 1–3. Apply glue to tabs 1 through 3 and glue each one under the edge with the same number. Press for 10 seconds. The piece will start closing into a 3D shape on its own.
- Trunk: tabs 4–6. Apply glue to tabs 4 through 6 and glue each one under the edge with the same number. Press for 10 seconds.
- Trunk: tabs 7–9. Apply glue to tabs 7 through 9 and glue each one under the edge with the same number. Press for 10 seconds.
- Trunk: tabs 10–11. Apply glue to tabs 10 and 11 and glue each one under the edge with the same number. Press for 10 seconds. Press the last tab from the outside with a finger or a pencil.
- Bottom tier: tabs 1–3. Apply glue to tabs 1 through 3 and glue each one under the edge with the same number. Press for 10 seconds. The piece will start closing into a 3D shape on its own.
- Bottom tier: tabs 4–6. Apply glue to tabs 4 through 6 and glue each one under the edge with the same number. Press for 10 seconds.
- Bottom tier: tabs 7–9. Apply glue to tabs 7 through 9 and glue each one under the edge with the same number. Press for 10 seconds.
- Bottom tier: tabs 10–11. Apply glue to tabs 10 and 11 and glue each one under the edge with the same number. Press for 10 seconds. Press the last tab from the outside with a finger or a pencil.
- Middle tier: tabs 1–3. Apply glue to tabs 1 through 3 and glue each one under the edge with the same number. Press for 10 seconds. The piece will start closing into a 3D shape on its own.
- Middle tier: tabs 4–6. Apply glue to tabs 4 through 6 and glue each one under the edge with the same number. Press for 10 seconds.
- Middle tier: tabs 7–9. Apply glue to tabs 7 through 9 and glue each one under the edge with the same number. Press for 10 seconds.
- Middle tier: tabs 10–11. Apply glue to tabs 10 and 11 and glue each one under the edge with the same number. Press for 10 seconds. Press the last tab from the outside with a finger or a pencil.
- Top tier: tabs 1–3. Apply glue to tabs 1 through 3 and glue each one under the edge with the same number. Press for 10 seconds. The piece will start closing into a 3D shape on its own.
- Top tier: tabs 4–6. Apply glue to tabs 4 through 6 and glue each one under the edge with the same number. Press for 10 seconds.
- Top tier: tabs 7–9. Apply glue to tabs 7 through 9 and glue each one under the edge with the same number. Press for 10 seconds.
- Top tier: tabs 10–11. Apply glue to tabs 10 and 11 and glue each one under the edge with the same number. Press for 10 seconds. Press the last tab from the outside with a finger or a pencil.
- Tree topper: tabs 1–3. Apply glue to tabs 1 through 3 and glue each one under the edge with the same number. Press for 10 seconds. The piece will start closing into a 3D shape on its own.
- Tree topper: tabs 4–6. Apply glue to tabs 4 through 6 and glue each one under the edge with the same number. Press for 10 seconds. Press the last tab from the outside with a finger or a pencil.
Assemble
- Bottom tier — into place. Apply glue to the face marked A and glue the “Bottom tier” piece to the same letter on the “Trunk” piece. The faces are different sizes: center the smaller one exactly on the larger one.
- Middle tier — into place. Apply glue to the face marked B and glue the “Middle tier” piece to the same letter on the “Bottom tier” piece. The faces are different sizes: center the smaller one exactly on the larger one.
- Top tier — into place. Apply glue to the face marked C and glue the “Top tier” piece to the same letter on the “Middle tier” piece. The faces are different sizes: center the smaller one exactly on the larger one.
- Tree topper — into place. Apply glue to the face marked D and glue the “Tree topper” piece to the same letter on the “Top tier” piece.
Done. The figure is done. Let the glue dry for 10 minutes — then you can put it on a shelf.
Make it with your phone camera
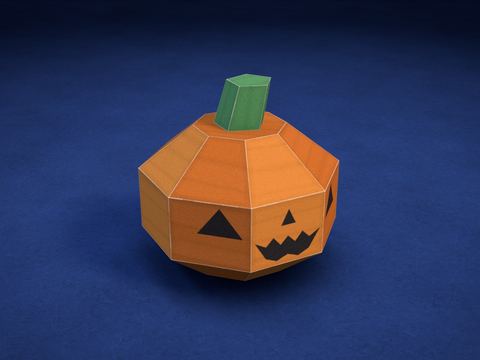 PumpkinMedium
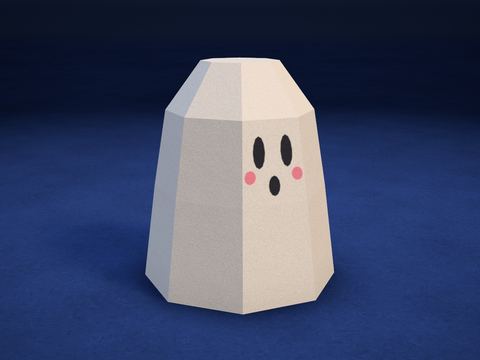 GhostMedium
 Star PiñataHard
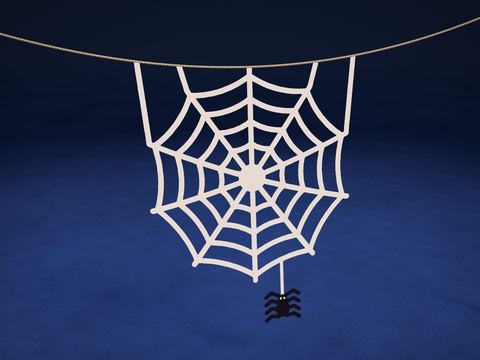 Cobweb with a SpiderEasy
 Paper Chain GarlandEasy
 La CatrinaHard