 VanGami.com
Tube Buddy: Baby Dragon
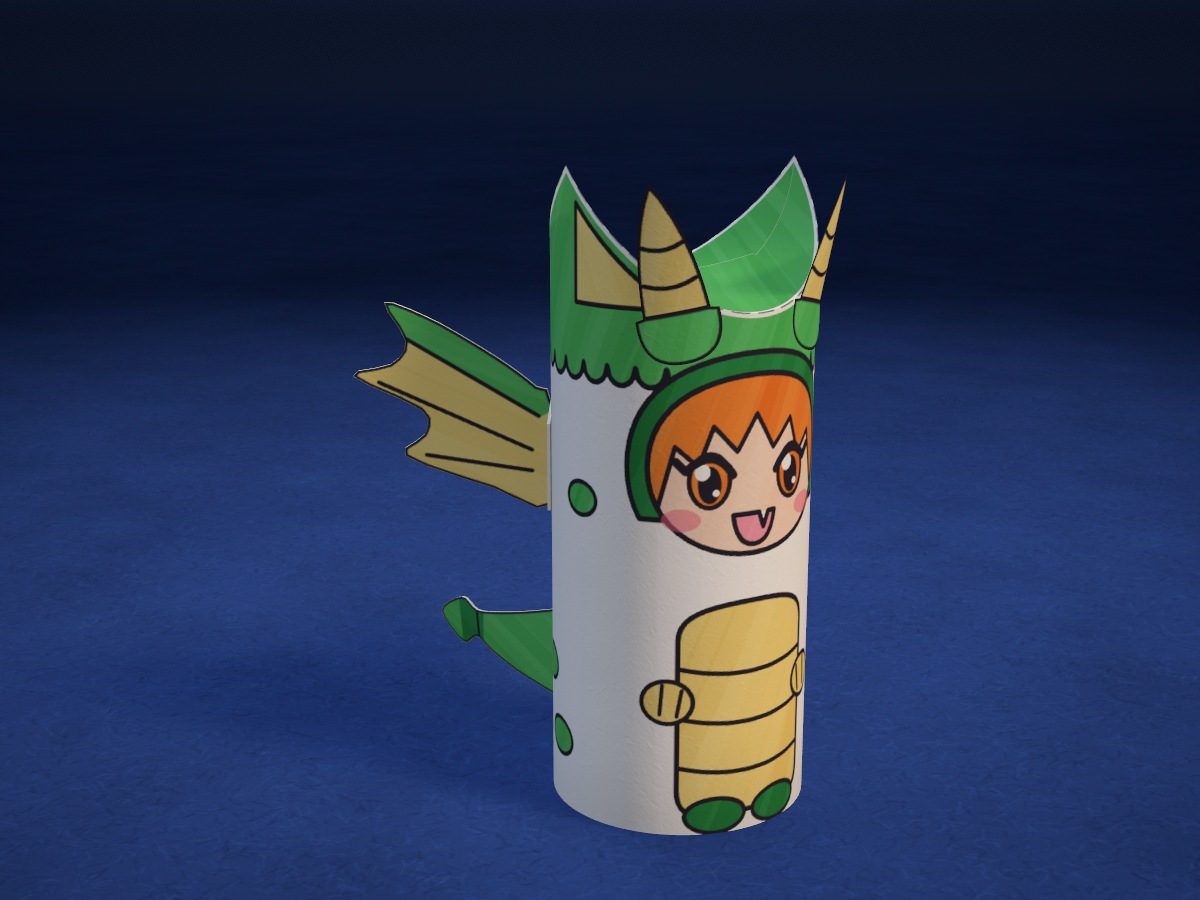
A chibi baby dragon, 3⅛ in tall, made from a single paper tube: a little one in a dragon hoodie with a green hood, horns, ears, and a striped tummy. Wings sit behind the shoulders, and a ridge runs down the back and turns into a tail at the bottom. The ears form on their own — you press the top of the tube inward.
- Easy
- 1 tube
- 5 small pieces
- 2 Letter sheets
Make it with your phone cameraLesson code: 7974
On VanGami the template appears over your sheet through your phone camera — no printer needed. Trace it, cut, fold and glue. Below are all the steps in text.
What you’ll need
- 2 Letter sheets — office paper, 80 gsm (20 lb)
- Markers
- Pencil — and eraser
- Scissors — small
- Glue stick — or PVA glue
- Glass — phone stand
Steps
Trace
- Sturdy sheet from two. Apply glue stick over the whole surface of a sheet of printer paper, press a second sheet onto it, and smooth with your palm from the middle to the edges. You'll get a thick sheet — work on that one. Put it back in the same spot, edge to edge; don't move the phone.
- Strip: outline. Trace the strip with the tab above the middle in a solid line — you’ll cut along this line.
- Strip: ear arcs. The dashed arcs at the top are the ear folds. Trace them pressing hard: the top will then fold evenly along the scored line. Don’t cut along them.
- Strip: drawing. Trace in thin lines: the face inside the hood trim, the spiky bangs, the eyes, the smile with a little fang, the hood edge in “scales”, the ear centers, the spots, the striped tummy, the hands with little claws, and the feet at the bottom. Don’t draw on the white margin at the left — it goes under the seam.
- Small parts: outlines. Trace the two horns, the two wings with tabs (they’re mirror images), and the ridge with the tail and the long tab in a solid line.
- Small parts: fold lines. The fold lines are dash-dot lines: these are valley folds. Don’t cut along them.
- Small parts: drawing. On the horns: two rings and the edge of the base. On the wings: the bones and the edge of the “arm.” On the ridge: the base of the spikes and the edge of the spear tip on the tail.
Color
- Color: strip. The hood above the “scales” edge and the spots — green; color the hood all the way to the top edge, and the tab too: above the arcs is the crown, and it shows from above. The trim around the face and the feet at the bottom — dark green; the tummy, hands, and ear centers — light yellow; the bangs and eyes — orange; mouth and blush — pink. The hoodie below the hood and the fang stay white. Leave a narrow white stripe along the dashed arcs, and outline the contours, pupils, and lashes in black.
- Color: small parts. Horns, wing membranes, and ridge spikes — light yellow; horn bases, the wing “arms”, and the tail — green; the tail spike — dark green. Don’t color the tabs: they’ll lie on the white hoodie. Outlines — black.
Cut
- Cut out: strip. Cut out the strip together with the tab above the face. Cut into the corners by the tab from both sides.
- Cut out: small pieces — 5 pcs. Cut out the two horns, the two wings, and the ridge with the tail — the wings and ridge together with their tabs.
- Backs. Flip the small pieces. Color the back of the ridge with the tail green, and the backs of the wings and horns light yellow: they show from both sides. Don’t color the tabs.
Roll
- Roll the tube. Apply glue to the white area on the left. Roll the strip with the drawing facing out and lay the right edge over that area, up to the line. Press the seam for 10 seconds.
Fold
- Ears: top at the back. Turn the tube with the seam facing you. Press your finger on the top edge above the seam: it will dent inward along the scored arc, and the ear tips will pop up at the sides.
- Ears: top at the front. Turn the dragon to face you. Apply glue to the tab above the face, on its back side, inside the tube, and push in the front of the top the same way: the tab will lie on top of the back half.
Assemble
- Horns. Apply glue to the back of the horn’s green base; don’t glue the horn itself. Glue the horns above the face, onto the hood trim, a little apart: the horns point up in front of the ears.
- Wings. Fold the wing tabs toward you along the dash-dot line, apply glue to their backs, and glue them behind the shoulders, halfway up: the wings point out to the sides.
- Ridge and tail. Fold the long tab of the ridge toward you, apply glue to its back, and glue it exactly along the seam at the back, tail down: the tail almost touches the table, and the spikes run down the back.
Check
- Stand it on the table. Stand the dragon on the table: it stays up on its own. Turn it all the way around: the horns and ears stick up, the wings are behind the shoulders, and the ridge with the tail is at the back.
Done. The baby dragon is done. Let the glue dry for 10 minutes — then you can put it on a shelf.
Make it with your phone camera
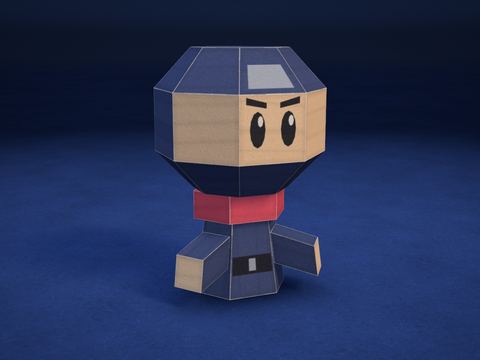 Chibi NinjaHard
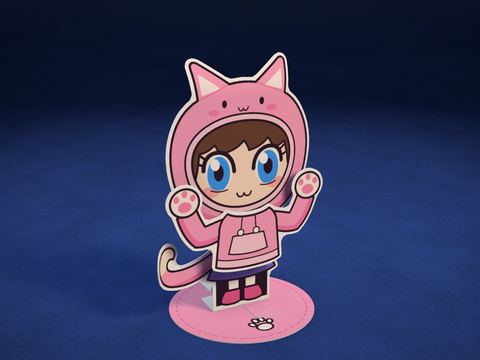 Chibi StandeeMedium
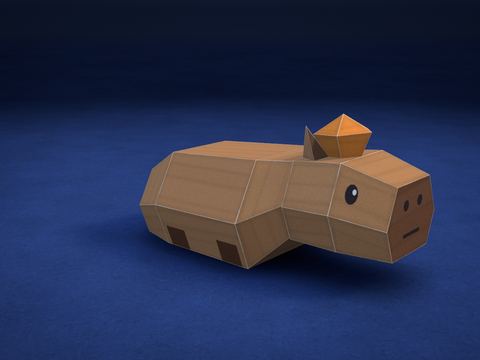 Capybara with a TangerineHard
 Chibi Cube: FoxMedium
 Little RobotMedium
 Little FoxHard