 VanGami.com
Peekaboo Ghost Card
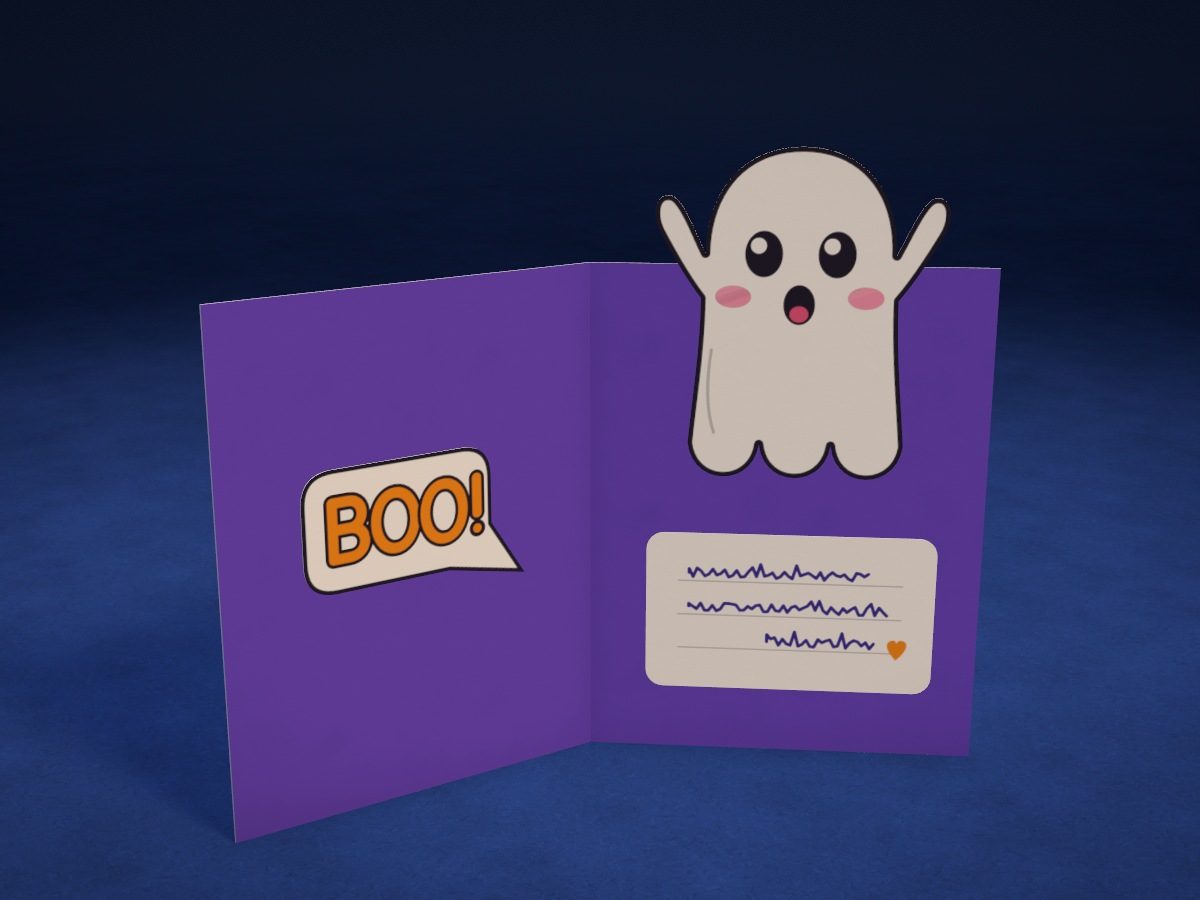
A purple card from a Letter sheet folded in quarters. A ghost peeks over the top edge, and inside it raises its arms — next to it are a “BOO!” speech bubble and a note for your greeting. On the cover: a moon and stars.
- Easy
- 1 Letter sheet for the base
- 3 tracing blocks
- 6 pieces
Make it with your phone cameraLesson code: 8525
On VanGami the template appears over your sheet through your phone camera — no printer needed. Trace it, cut, fold and glue. Below are all the steps in text.
What you’ll need
- 2 Letter sheets — office paper, 80 gsm (20 lb)
- Markers
- Pencil — and eraser
- Scissors — small
- Glue stick — or PVA glue
- Glass — phone stand
Steps
Sheet 1
- Sheet 1: white sheet. The white sheet should be under the camera now. The template has 1 sheets.
- Ghost: outline. Trace the ghost with a solid line — with raised arms and a wavy hem. You’ll cut along it.
- Ghost: face. Draw the eyes with highlights, the little mouth and the cheeks with thin lines. The picture on the screen is an example — it doesn’t have to be exact to the millimeter.
- Small parts: outlines. Trace the moon, two stars and a speech bubble with a tail. That makes four pieces.
- Small parts: drawing. Draw craters on the moon, and the letters BOO! in the bubble with thick lines.
- Note: outline. Trace a rectangle with rounded corners — you’ll write your greeting on it.
- Note: lines. Draw three thin lines to write on.
- Color: ghost. Color the eyes and mouth black, but leave the highlights uncolored; color the cheeks pink. Go over the edge of the ghost with a black marker.
- Color: small parts. Color the moon and stars yellow and the craters orange. Color the letters orange, outlined in black; the bubble stays white.
Sheet 2
- Purple: color the sheet (optional). The sheet is white. You can color it in this color all over before marking it out (that takes longer) — or leave it white: the craft will come out white.
- Card base. This sheet isn’t traced: it gets folded in quarters — first along line 1, then along line 2. You’ll see how at the “Fold” stage.
Fold
- Fold the sheet in half. Place the purple sheet in portrait orientation and fold it in half: top edge to bottom edge, corners exactly on corners. Crease the fold with your fingernail.
- In half again. Keep the fold at the top. Fold again: left edge to right edge, crease, and open it like a book. Inside are the card’s two inner pages, with the fold still at the top.
Cut
- Cut out: ghost. Cut out the ghost along the solid line. Between the arm and the head, make two cuts that meet.
- Cut out: moon, stars and speech bubble — 4 pcs. Cut out the moon, two stars and the speech bubble. On the stars, cut from the notch to the tip of each point.
- Cut out: note. Cut out the note: four straight cuts, with smoothly rounded corners.
Glue
- Ghost. Turn the ghost over and put glue on only the bottom half — from the arms down. Glue it on the right page: the head and arms peek out 1⅛ in above the fold.
- Note. Glue the note on the right page under the ghost, right side up. That’s where you’ll write your greeting.
- Speech bubble. Glue the “BOO!” speech bubble on the left page, with its tail pointing to the ghost.
- Close the card. Close the card: the left page lies on top of the right one. The ghost peeks out over the top edge, facing you.
- Moon and stars. Glue the moon and two stars on the cover: the moon on the left, the stars on the right, one higher and one lower.
Done
- Stand up the card. Open the card and stand it up like a book — the ghost raises its arms above the open pages. Write your greeting on the note.
Done. The card is done. Close it and the ghost peeks over the edge; inside, write your greeting on the note.
Make it with your phone camera
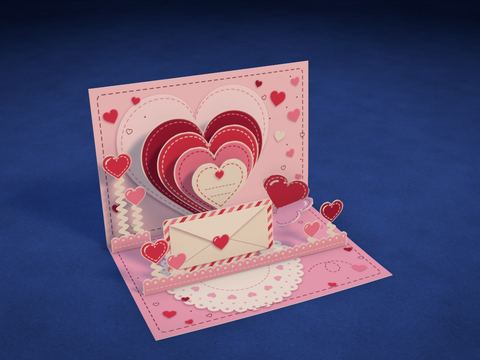 Pop-Up HeartHard
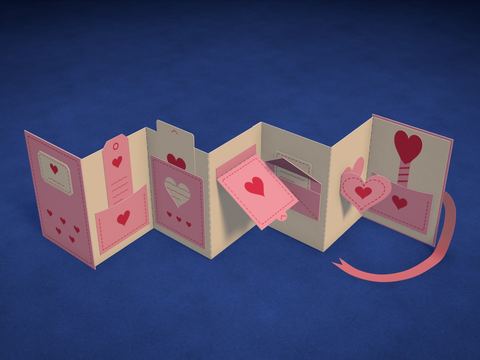 Surprise BookHard
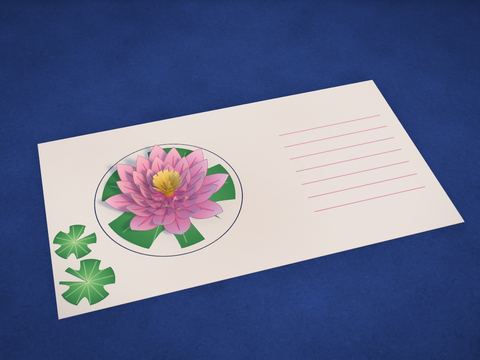 Lotus in the WindowHard
 Bouquet of RosesHard
 Love LetterEasy
 Slider CardMedium