 VanGami.com
Slider Card
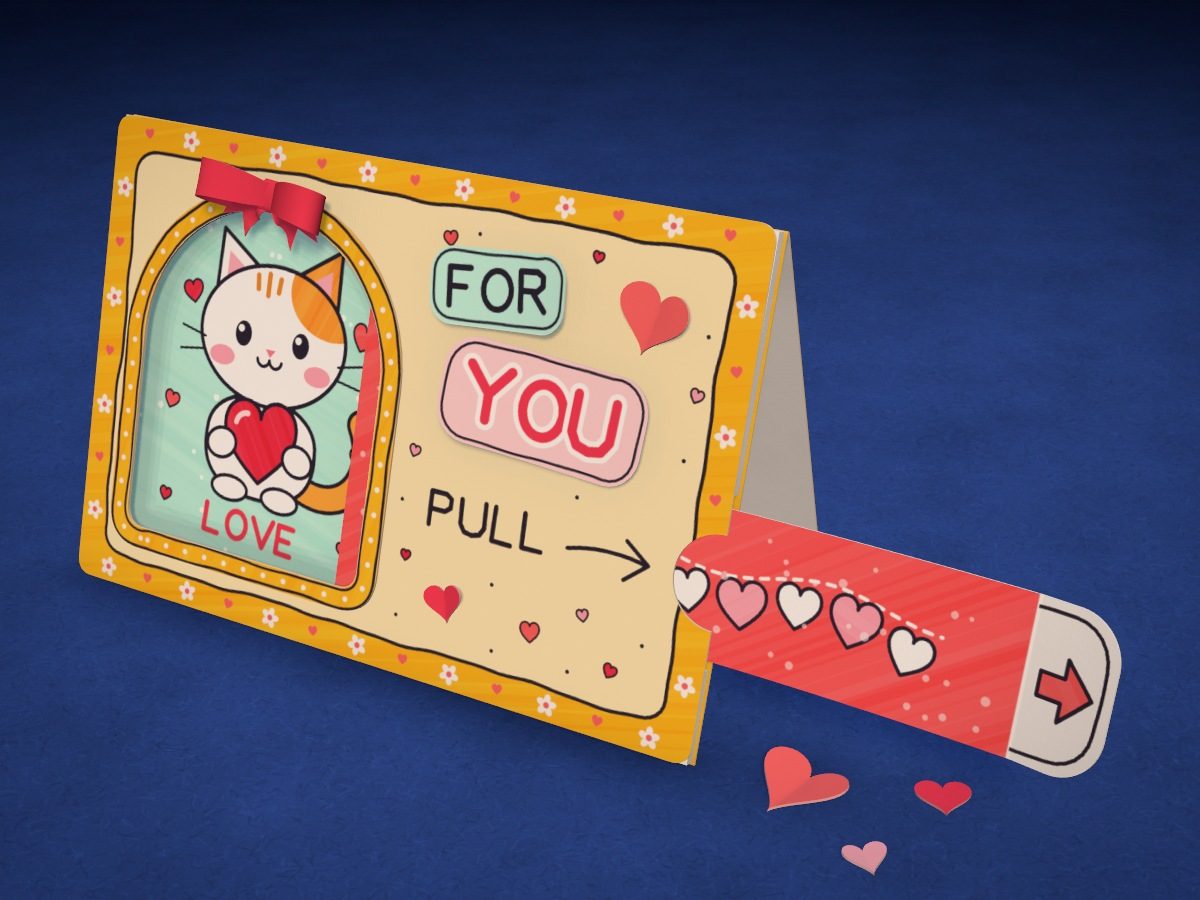
A little-house card with a window: an insert strip slides between the base and the frame. Pull the tab and the curtain slides away, and a kitten holding a heart appears in the window.
- Medium
- 13 pieces
- 3 Letter sheets
- 66 mm strip travel
Make it with your phone cameraLesson code: 5401
On VanGami the template appears over your sheet through your phone camera — no printer needed. Trace it, cut, fold and glue. Below are all the steps in text.
What you’ll need
- 3 Letter sheets — office paper, 80 gsm (20 lb)
- Markers
- Pencil — and eraser
- Ruler — 8–12 in
- Scissors — small
- Glue stick — or PVA glue
- Empty pen — to score the folds
- Regular markers
- Glass — phone stand
Steps
Sheet 1
- Sturdy sheet from two. Apply glue stick over the whole surface of a sheet of printer paper, press a second sheet onto it, and smooth with your palm from the middle to the edges. You'll get a thick sheet — work on that one. Put it back in the same spot, edge to edge; don't move the phone.
- Sheet 1: yellow sheet. A yellow sheet should be under the camera now. The template has 2 sheets. The sheet is white — the pieces get their color at the coloring step.
- Base: outline. Trace the base rectangle with a ruler: 6⅛ × 8¼ in.
- Base: fold. The fold line divides the base in half. The bottom half will become the panel with the window.
- Base: layout marks. Bottom half: the channel rectangle, a line marking where the picture goes and two short dashes for the slot on the right. Top half: a frame and a little heart — this is the back of the card.
- Yellow. The paper is white, but these parts should be this color: color them in completely, up to the outline. Move the marker in one direction.
- Color: back. Color the heart red and trace the frame in black — right over the yellow.
Sheet 2
- Sheet 2: white sheet. Remove the previous sheet and put the white sheet in its place, lined up edge to edge. Don’t move the phone — the scale stays the same.
- Frame: outline. Trace the solid line — the edge of the “Frame” piece. You'll cut along it. Trace the window inside with a solid line, too.
- Frame: drawing. Copy the frame: a border of daisies and hearts, and next to the window the word “PULL” with an arrow pointing to the notch.
- Insert: outline. Trace the solid line — the edge of the “Insert” piece. You'll cut along it.
- Insert: fold. The short line at the end of the strip — this is where the pull tab folds toward you.
- Insert: drawing. On the curtain: “WHO'S THERE?” and the top of the kitten's head under the words; on the strip: hearts on a thread; on the pull tab: an arrow.
- Picture: outline. Trace the solid line — the edge of the “Picture” piece. You'll cut along it.
- Picture: drawing. The kitten with a heart and the word “LOVE” — this is what will appear in the window.
- Arch: outline. Trace the solid line — the edge of the “Arch” piece. You'll cut along it. Trace the window inside with a solid line, too.
- Arch: drawing. Two thin lines along the ring and dots between them.
- Labels: outlines. Trace the two labels with rounded corners — for the words “FOR” and “YOU”.
- Labels: lettering. Write in the words: “FOR” in thin letters, “YOU” in big letters.
- Little hearts: outlines. Trace the two little hearts — a big one and a small one.
- Little hearts: folds. Down the middle of each one, the fold line: a dash-dot line.
- Bow: outlines. Trace the four bow pieces with a ruler: a long strip 2¾ × 5/16 in, a short one ⅞ in long and two tails with a V-notch.
- Bow: folds. The long strip has two fold lines, each ¾ in from the edge.
- Color: frame. Color the border yellow and leave the rest light. Color the hearts and dots after the background.
- Color: insert. Color the curtain and strip coral. Leave the letters white and outline them in black. Color every other heart on the strip pink.
- Color: picture. Color the background mint, the heart and the word red, and the kitten’s ear and patch orange. Do the outlines in black at the end.
- Color: arch. Color the ring of the arch yellow. Add the dots with a white pen once it’s dry.
- Color: labels. Color the “FOR” label mint, the “YOU” label pink, and the letters of “YOU” red. Color the background around the letters.
- Coral. Color the areas that match this color. Move the marker in one direction — you’ll get fewer streaks.
- Red. Now the areas that match this color.
Cut
- Cut out: base. Cut with scissors along the solid line. Turn the sheet, not the scissors — the cut will come out neater.
- Cut out: frame. Cut out the frame along the outline, including the half-round finger notch. Cut out the arched window with a craft knife on a piece of cardboard.
- Cut out: insert. Cut out the whole insert — curtain, strip and pull tab — as one piece.
- Cut out: picture. Cut with scissors along the solid line. Turn the sheet, not the scissors — the cut will come out neater.
- Cut out: arch. Cut out the arch along the outer line, then cut out the middle with a craft knife: what’s left is a ring 3/16 in wide.
- Cut out: labels — 2 pcs. Cut with scissors along the solid line. Turn the sheet, not the scissors — the cut will come out neater.
- Cut out: little hearts — 2 pcs. Cut out both little hearts. The small one is easier to cut with nail scissors.
- Cut out: bow — 4 pcs. Cut out the four pieces of the bow. Cut the V-notches in the tails with two short cuts toward the middle.
Fold
- Fold the base. Score the fold line with an empty pen along a ruler and fold the base in half, design side out. Then unfold it: we’ll assemble on the bottom half.
Assemble
- Picture. Glue the kitten picture onto the bottom half of the base — in the left part of the channel, following the marks.
- Paper spacer. Border the channel for the insert with three-layer paper strips: fold a strip 1 in wide into thirds lengthwise and glue it — you get a sturdy strip 5/16 in wide. Glue such strips along all four edges of the flap, outside the channel marking; leave a gap on the right — the slot for the pull tab.
- Insert. Put the insert into the channel: the curtain covers the picture, and the strip comes out through the gap on the right. Don’t glue it — it slides freely. Fold the pull tab at the end toward you along the line.
- Frame. Apply glue to the spacer strips and cover the flap with the frame with the window: the edges line up with the base. Press down along the whole border.
- Arch. Glue the yellow arch around the window: it covers the cut edge of the frame.
- Labels. Glue the “FOR” and “YOU” labels on the right onto small pieces of foam tape — they will sit raised above the frame.
- Little hearts. Fold the little hearts in half and glue them by the fold only: the halves stay raised.
- Make the bow. Lay the long strip colored side down, fold the ends to the middle and glue them down — you get two loops. Wrap the short strip around the middle and glue the tails on the back.
- Bow above the arch. Glue the bow above the window, in the center of the arch.
Check
- Pull the tab. Pull the strip to the right: the curtain slides away and the kitten appears in the window. Push it back in — and the card is ready to give.
- Stand it up like a tent. Fold the base along the line and stand the card up like a tent: the panel with the window faces the viewer.
Done. The card is ready. Pull the tab and the kitten will peek out of the window.
Make it with your phone camera
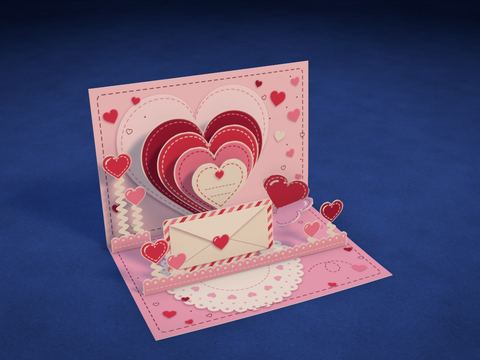 Pop-Up HeartHard
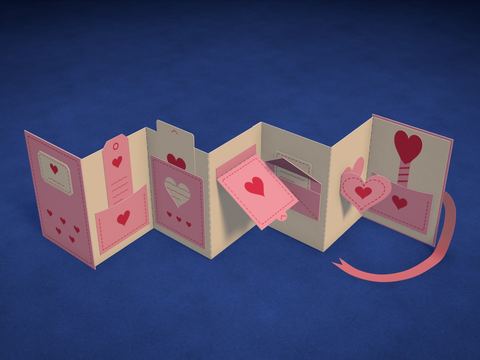 Surprise BookHard
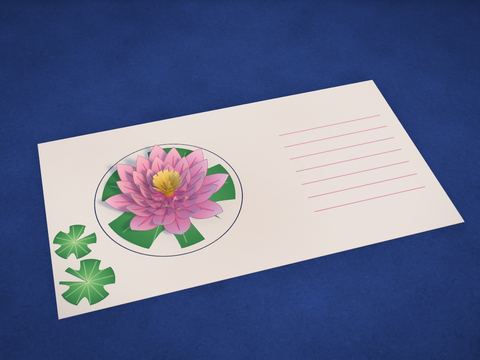 Lotus in the WindowHard
 Bouquet of RosesHard
 Love LetterEasy
 Cake with CandlesHard