 VanGami.com
Kitty Box
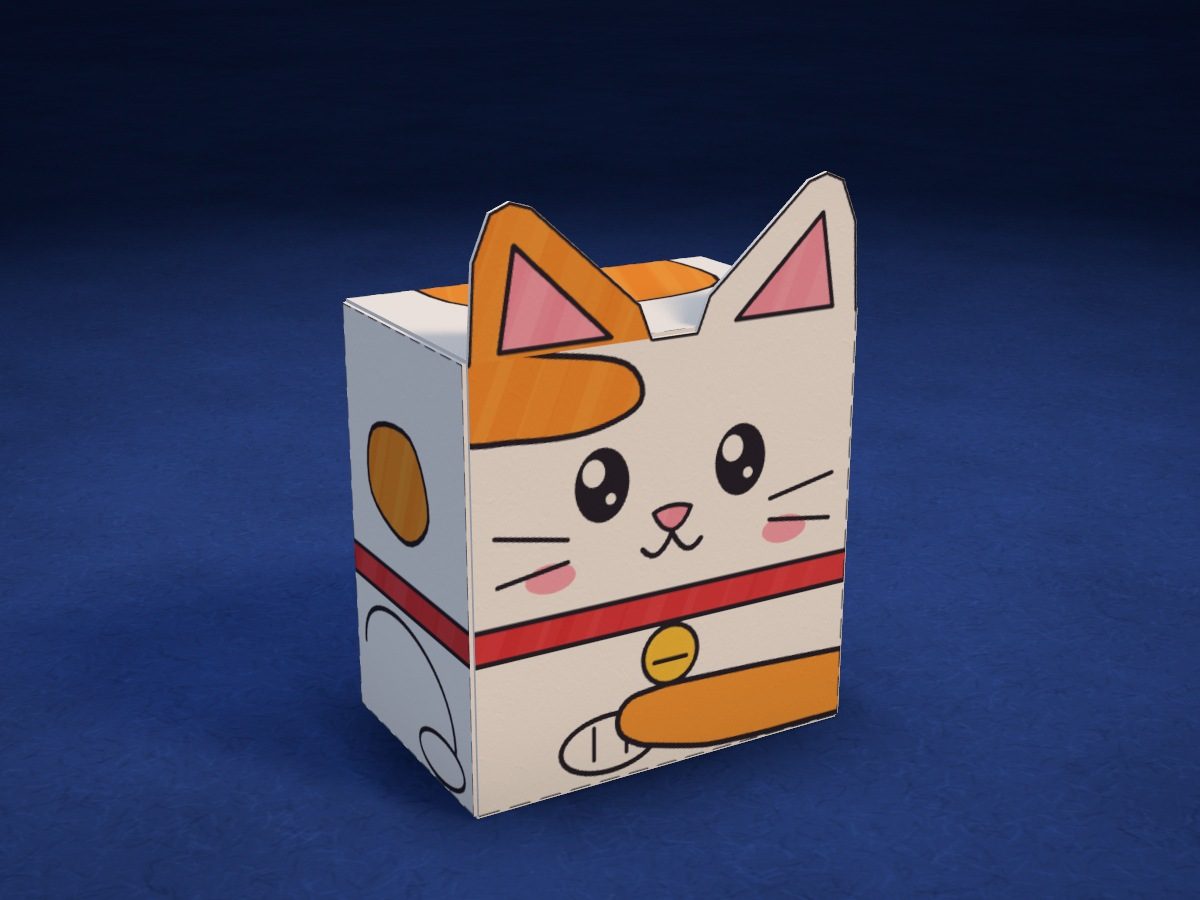
A sitting kitty, 2⅜ in tall, is a little box made of two pieces: white with orange spots, wearing a red collar with a bell, with its tail wrapped around its paws. The lid behind the ears flips open, and a candy or a note fits inside.
- Easy
- 2 pieces
- 8 tabs
- 1 Letter sheet
Make it with your phone cameraLesson code: 6189
On VanGami the template appears over your sheet through your phone camera — no printer needed. Trace it, cut, fold and glue. Below are all the steps in text.
What you’ll need
- Letter sheet — office paper, 80 gsm (20 lb)
- Markers
- Pencil — and eraser
- Scissors — small
- Glue stick — or PVA glue
- Glass — phone stand
Steps
Trace
- Face: outline. Trace with a solid line: the ears, the wall with the face, the side wall on the right, the bottom under the face, and three tabs.
- Face: folds. Draw the lines between the walls, by the bottom, and by the tabs as dashed lines: don’t cut along them. Write the numbers 1, 3, and 6 on the tabs: that’s the order you’ll put it together.
- Face: drawing. Copy the face with eyes, nose, mouth, and whiskers, the inner parts of the ears, the spot on the forehead, the collar with a bell, the front paws, the back leg on the side, and the tail at the bottom.
- Back layer: outline. Trace with a solid line: the back wall with the lid and a little tongue above it, the side wall on the right, and the tabs.
- Back: folds. Draw the lines between the walls, by the lid, and by the tabs as dashed lines. On the tabs, write the numbers 2, 4, 5, and 7, and on the lid’s tongue write 8.
- Back layer: drawing. Copy the two spots, the collar, the back leg with its foot on the side, and the start of the tail at the bottom.
Color
- Color: face. Spot on the forehead, left ear, and tail — orange. Collar — red; bell — yellow; inner ears, nose, and blush — pink; eyes — black; leave the highlights white. The kitty stays white; go over the outlines in black.
- Color: back layer. Spots and tail — orange; collar — red. The back stays white; go over the outlines in black.
Cut
- Cut out: face. Cut out the face along the outline together with the ears, the bottom and the tabs. Cut up to the tab corners from both sides.
- Cut out: back layer. Cut out the back along the outline together with the lid and the tabs. Cut up to the tab corners from both sides.
Fold
- Fold all the lines. Fold both pieces along every dashed line with the drawing facing out and crease with your fingernail: the walls, lid, bottom and tabs. Then unfold slightly.
Glue
- Walls: tab 1. Apply glue to tab 1 on the side of the face and glue it from the inside to the edge of the back — the edge that has no tab: the tops and bottoms of the walls must line up. Press for 10 seconds.
- Walls: tab 2. Apply glue to tab 2 on the side of the back and close the tube: glue it from the inside to the edge of the wall with the face. Press for 10 seconds.
- Bottom. Turn the kitty over, ears down. Fold tabs 3, 4 and 5 inward and apply glue to them, close the bottom and press it from the inside with a finger through the open top.
- Lid. Stand the kitty on its bottom. Fold the side tabs 6 and 7 inward — don’t glue them. Lower the lid and tuck its flap, tab 8, inside behind the face.
Check
- Stand it on the table. The kitty stands on its own. Open the lid by the flap: a candy or a note fits inside. Close it — the flap goes behind the face again.
Done. The Kitty Box is done. Put a candy or a note inside, tuck in the lid’s flap — and give it as a gift.
Make it with your phone camera
 Chibi NinjaHard
 Chibi StandeeMedium
 Capybara with a TangerineHard
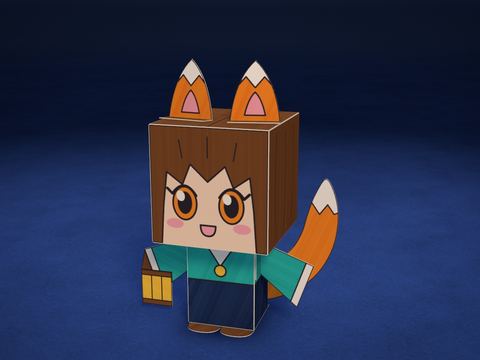 Chibi Cube: FoxMedium
 Little RobotMedium
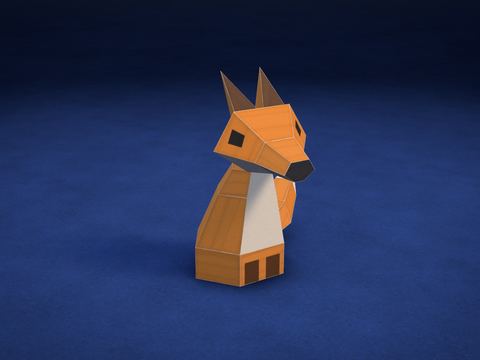 Little FoxHard