 VanGami.com
Fox Face
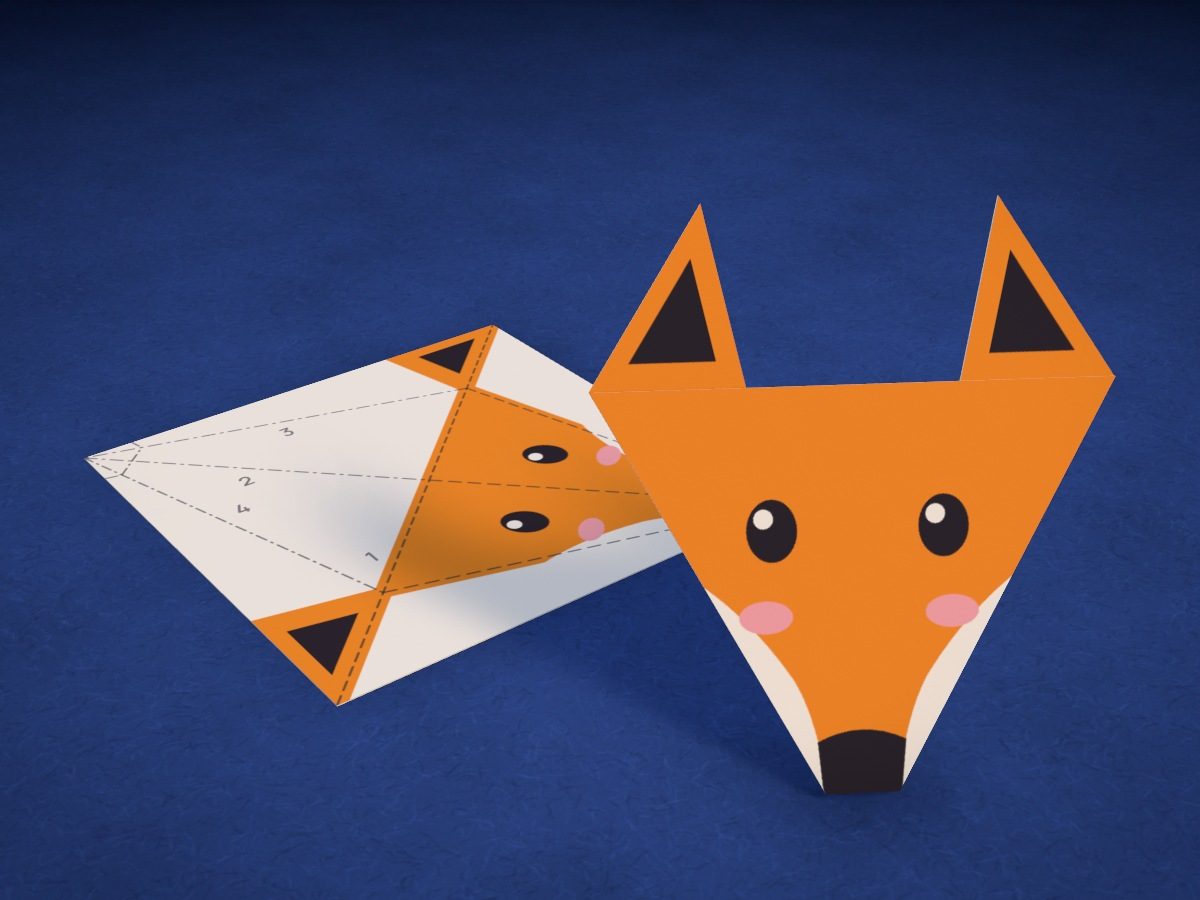
An origami fox from a single square: a triangle, two corners folded up for ears, and the tip of the nose folded back. You trace the fold lines and the face through the camera right onto the square — once it’s folded, the eyes and nose land in the right place on their own.
- Easy
- 1 3½ × 3½ in square
- 5 folds
- 0 glue
Make it with your phone cameraLesson code: 8769
On VanGami the template appears over your sheet through your phone camera — no printer needed. Trace it, cut, fold and glue. Below are all the steps in text.
What you’ll need
- Letter sheet — office paper, 80 gsm (20 lb)
- Markers
- Pencil — and eraser
- Scissors — small
- Glass — phone stand
Steps
Trace
- Outline. Trace the solid line — the edge of the piece. You’ll cut along it.
- Fold lines. Trace the dashed lines thinly, without pressing hard, as on the screen, and write its number next to each line — that’s the order of the folds. Each step will tell you which way to fold: you’ll fold with the drawing side down.
- Draw. Copy the drawing with thin lines: the picture on the screen is your guide. It doesn't have to be exact to the millimeter.
Color
- Color the face. Color the fur orange; the cheeks stay white. Use black for the eyes, nose and insides of the ears, and pink for the blush. Don’t color the rest of the square — you can’t see it after folding.
Cut
- Cut out: square. Cut with scissors along the solid line. Turn the sheet, not the scissors — the cut will come out neater.
Fold
- Drawing side down. Flip the square drawing side down and turn it so one corner points toward you. You can’t see the pencil lines on top now — that’s how it should be.
- Triangle. Fold the square in half along the diagonal: top corner exactly onto the bottom corner. Crease the fold with your fingernail. Now you can see lines 2, 3 and 4 on top.
- Center crease. Fold the triangle in half — left corner onto the right corner — along line 2, then unfold. There’s now a crease in the middle: it helps you make the face even.
- Left ear. Fold the left corner up along line 3: the fold starts at the bottom corner. The tip will stick out above the top edge — that’s the ear.
- Right ear. Do the same with the right corner: fold it up along line 4. Check that the ears match: the tips should be at the same height.
- Flip it over. Flip the blank over like a page. Now you see a face with ears.
- Nose tip. Fold the white tip under the black nose back — with the fold right along the bottom edge of the black (line 5 is under the marker) — and crease it. The nose looks neat now, and your fox is done.
Done. Done — ready to show off.
Make it with your phone camera
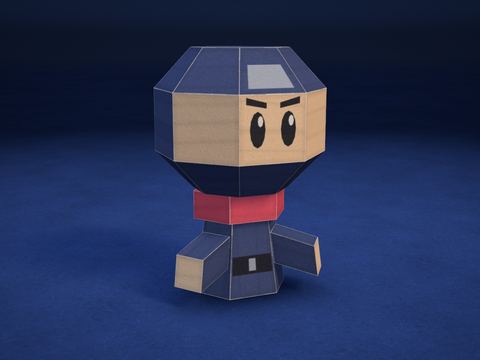 Chibi NinjaHard
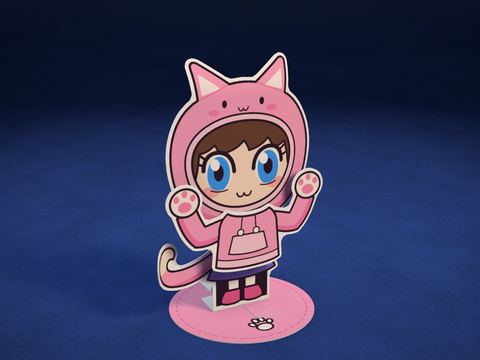 Chibi StandeeMedium
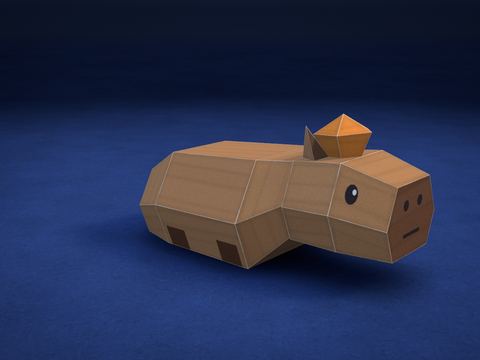 Capybara with a TangerineHard
 Chibi Cube: FoxMedium
 Little RobotMedium
 Little FoxHard